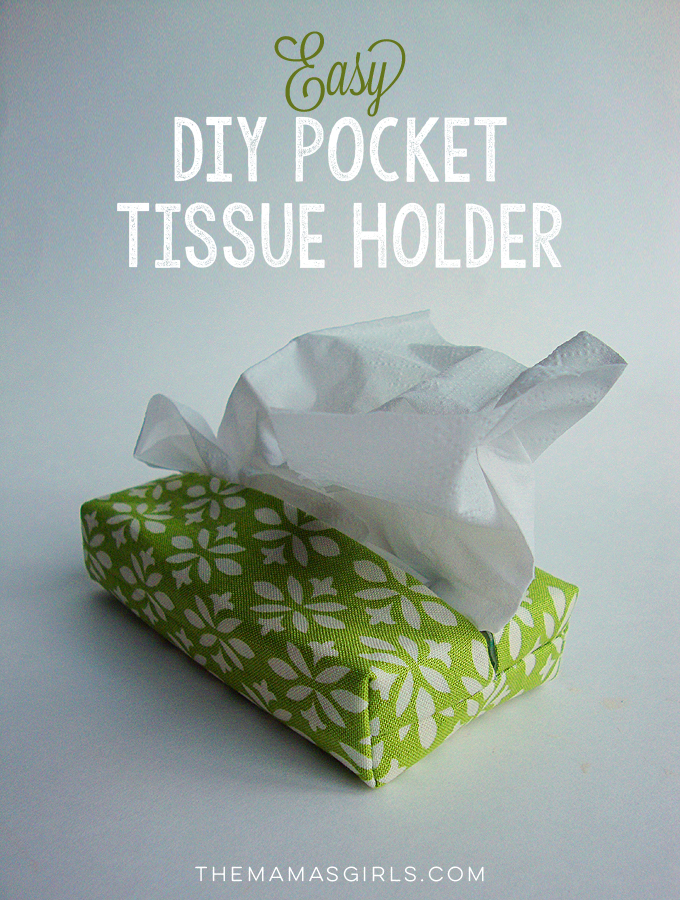
When I was first learning to sew, my mom taught me how to make these pocket tissue holders! I was just a kid! This project is easily made if you can stitch a straight line! I think I even made these on my toy sewing machine when I was about 8 or 9 years old. So you know if a kid can make them, they are really easy! They can be make using any type of cotton or cotton-blend fabric. They are quick to make and they’re a nice handmade gift.
Start by cutting 2 rectangles.
Cut one (from the outside fabric) 6″ x 7″
Cut one (from the lining fabric) 6-3/4″ x 7″.
You will notice that the lining fabric is 1/4″ shorter than the outside fabric. The reason I do this is so that after is is sewn and is turned right side out, the lining is a tiny bit smaller. It lays nicer this way. This is a great trick to know!
Pin, right sides together as shown above and stitch the short ends (the 6″ sides) using a 1/4″ seam allowance. Notice how the outer fabric is slightly bigger and seems like it doesn’t fit? (Don’t worry. This is how it is supposed to be.)
Press the seam toward the lining fabric to get a nice, crisp edge.
Turn right side out, press ends again and mark the center of both edges with a pin.
Fold the edges (with the lining side out) to meet the pins in the center. See photo above.
Stitch both ends using a 1/4″ seam allowance. Stick your thumb into the opening and pull part-way open.
Fold and pin as shown above (this is to create a nice, boxed end.)
Stitch across as shown in the photo above. C
Repeat on all 4 corners.
Turn it right side out and you will see the boxed ends.
You know the saying “they don’t make ’em like they used to?” Years ago, the Kleenex pocket tissues used to have one straight slit across the top where the tissues pulled out, Now, their “newfangled” package has this little curved slit. See below.
I have found that the curved slit doesn’t work as well as a straight line to dispense the tissues out of this fabric holder. Here is how I fixed it. It just takes a second…
Tape it closed with transparent tape.
Use scissors to cut a slit straight across. NOW you can insert the tissue package into your cute fabric tissue holder. These are a great handmade gift!
Kleenex Pocket Pack Facial Tissues
2b0fffb5222f238f515d41f8de734aa5d9adc6b59e042c1068


Love this tutorial! (But just for clarification…the lining should be 1/4″ smaller, so 5 3/4″? You have 6 3/4″ listed..)