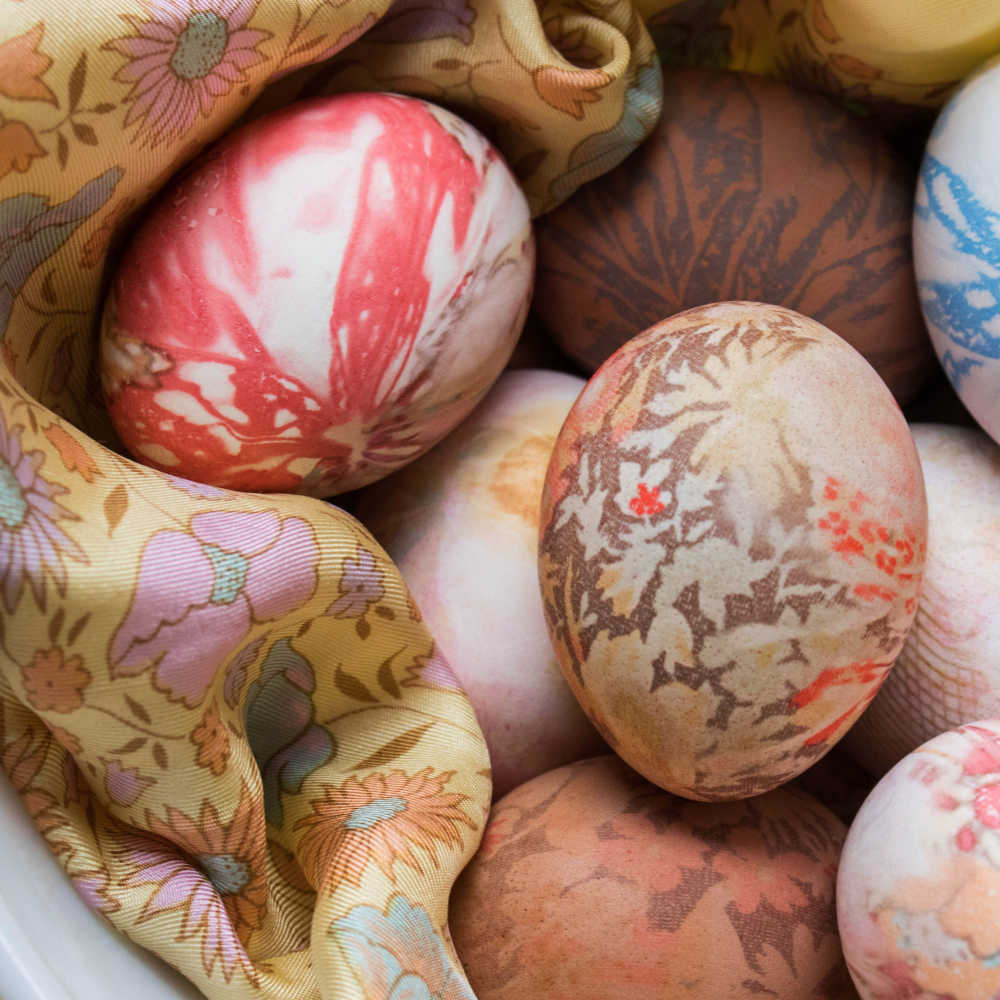
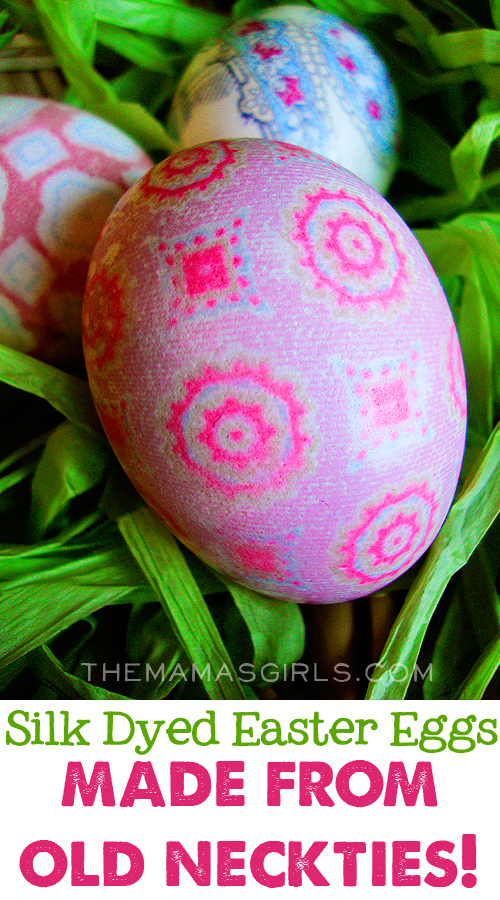
Silk-Dyed Easter Eggs. A fun way to create patterns and color on Easter eggs is using dad’s old silk neckties! They come in various patterns and colors. In fact, you could even use mom’s old silk scarves! (Be sure she’s okay with it first!)
It’s important that you use 100% silk (not a polyester blend) for this technique to work. (If you’re going to use Dad’s old neckties, be sure to ask him to approve or donate the ties he’s ready to part with!) If he’s not quite ready to give them up, you can find some at the thrift store. They’re usually only a dollar or two and you can probably dye a couple eggs from each! They will turn into works of art!
Here are the items you will need to start (plus some white muslin or white scrap fabric.)
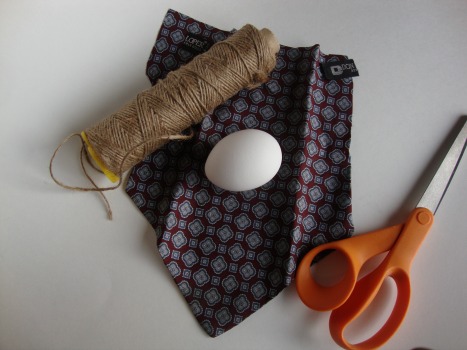
Cut the tie to make the best use of the fabric. You will need to cut pieces that will completely cover the egg and have a little extra fabric so that you can tie the scrap around the egg.
I have found that if you wet the silk, it will conform to the shape of the egg more easily.
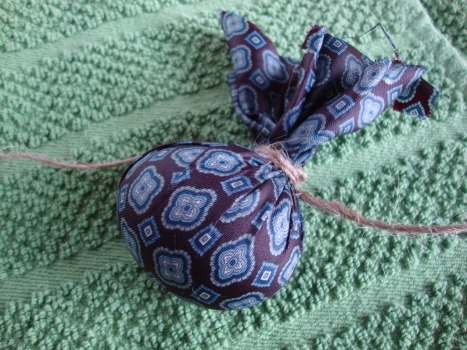
Tie it snug with a piece of string. Make sure to smooth out the silk as best you can. The pattern will transfer only where it is touching the egg.
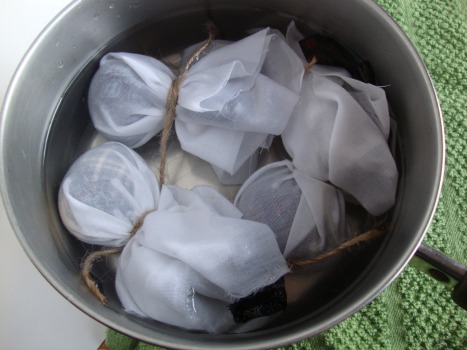
To prevent the colors from transferring onto the other eggs as they boil, wrap each silk wrapped egg with a piece of muslin or white scrap fabric.
Then, put the eggs in a pot of cool water with enough water to cover the eggs completely. Add 1/4 c. white vinegar. Cover and bring to a boil. When water comes to a rolling boil, turn off the heat and allow the eggs to stand for 16 minutes. Remove eggs from hot water with tongs and put in a ice water bath to cool. (This also prevents the yolk from turning gray!)

What a lovely idea! I was planning to decorate eggs with my little girl but this looks really pretty and arty so I’m going to give this a go. Thanks for sharing this!
Will this work with anything other than eggs?
I have not tried it on other things, so I’m not sure! Sorry…