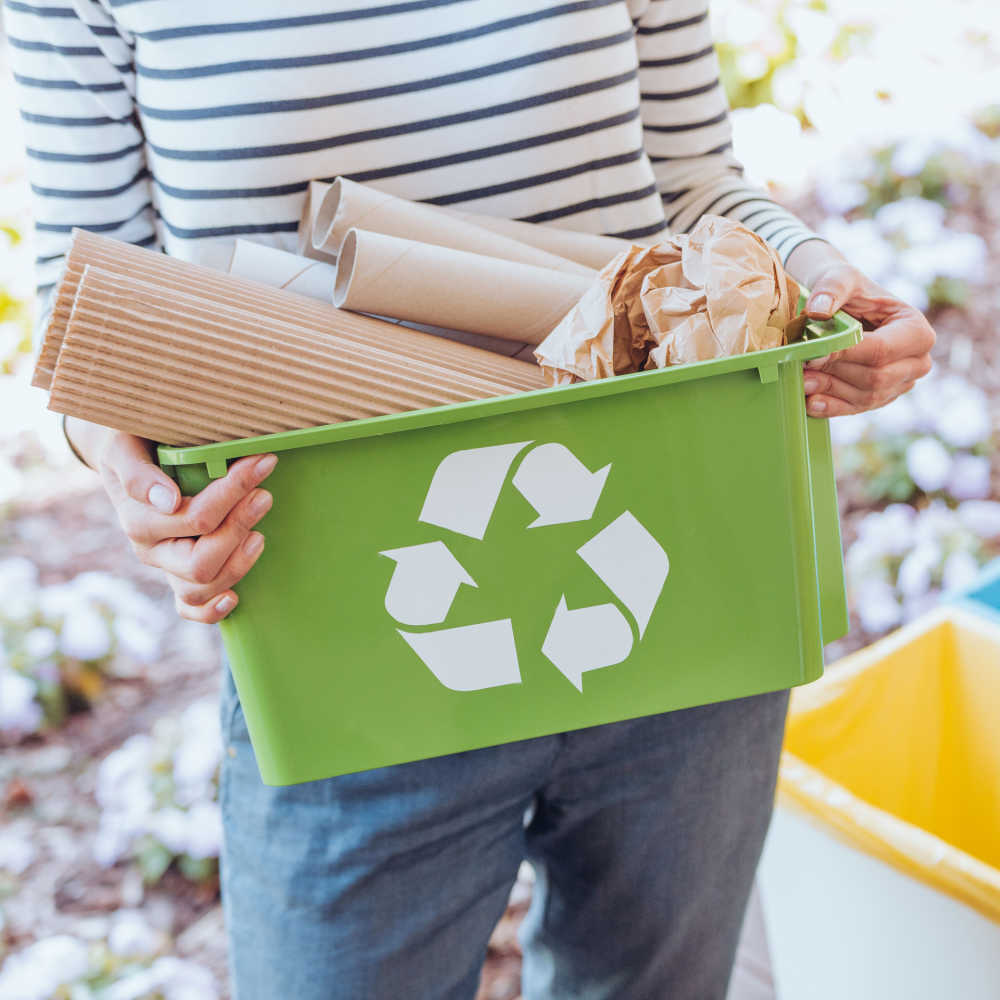
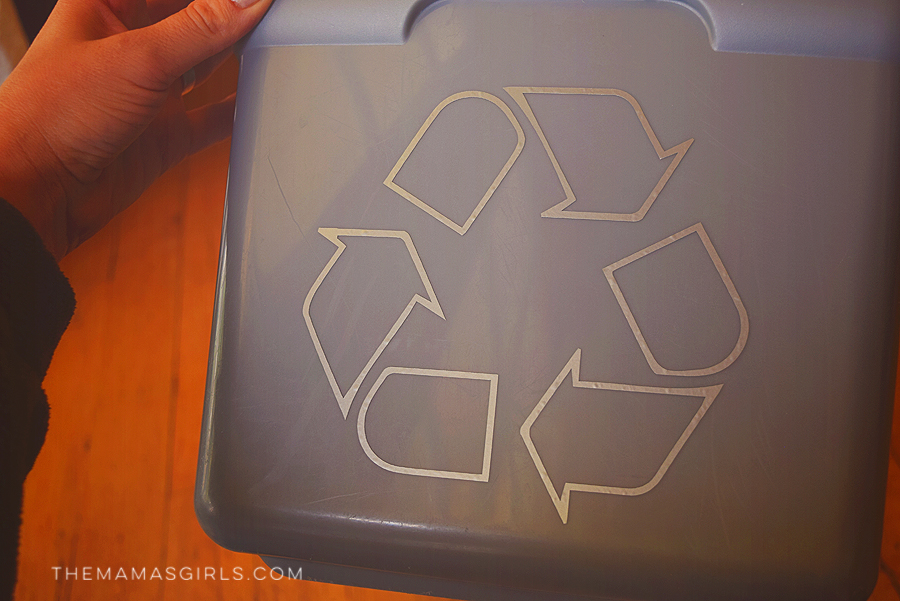
We just bought a house and one of the best parts, besides having a fantastic backyard and loads of storage is that they have recycling here. Where we used to live, we would fill a garbage bag daily. Now, with the chickens eating our scraps and the recycling bin, its been several days and our garbage can is only half full. SWEET! For now, because we don’t have a recycling bin, we have been just walking outside to the recycling can. When it starts getting cold outside, I want to have a recyclables landing zone inside. I am just going to use a plastic bin and jazz it up with some vinyl. Here is how I made my own recycle bin label so you can make your own recycle bin.
I used my New Cricut Explore to make the labels. If you are interested in downloading the .svg file to upload to your craft cutter, here is the link to download. Once the image shows in your browser, right click and save to desktop.
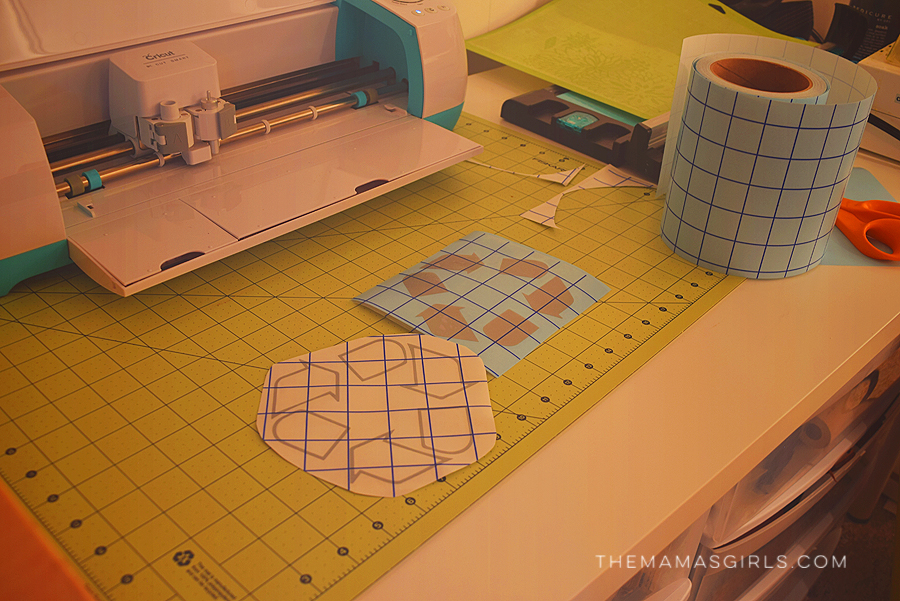
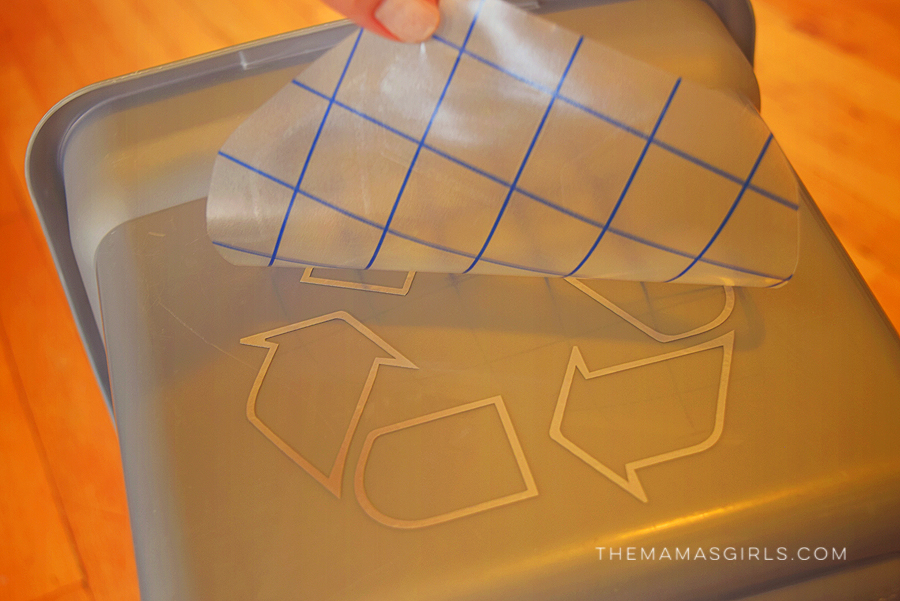
I used the 6×12 Angel Craft Vinyl sheets, that I was provided with to review and it worked great with my Cricut. I especially LOVE their Transfer Tape. A lot of times, craft companies will say that it works best with their brand of vinyl, which may be true sometimes, but I could not tell the difference between brands when I made two cuts in a row using Cricut and the brand from Amazon.com.
Watch this video to see the whole process. (You can see how easy the sheets and transfer tape make it.)
My recycle bin sticker is almost 6×6. If you want to do a bigger recycle symbol sticker, you would need to use the 12×12 sheets and the larger transfer tape roll.
I am so excited to be recycling finally!
 How much waste are you putting out there? Is it easy for you to recycle where you are?
