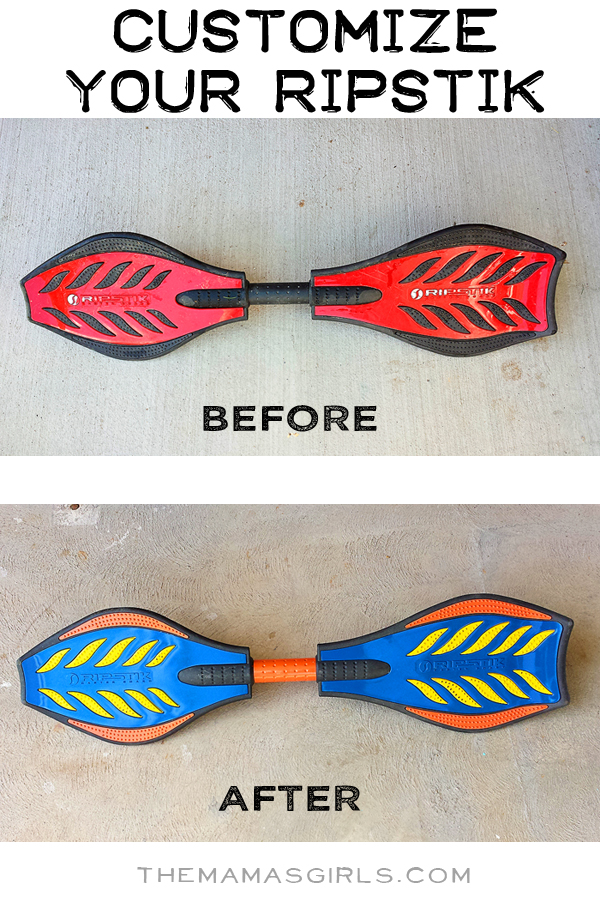

Most likely, if you have kids, they probably have, or will have a Ripstik. They are also known as wave boards, or caster boards, and are all the rage. We have had a Ripstik for about 3 years. My son only learned to ride a couple of months ago, but he has been on it so much that the back wheel finally gave up the ghost, and was shredded to an un-ridable disk. As I was looking for replacement wheels online, I came across a couple of You Tube videos on how to customize your Ripstik. My son loves to create, and design and takes pride in having something unique to him. I got excited right away and knew this would be a fun project we could do together to give his ripstik some new life. This is definitely a project needing adult supervision to complete so this was a fun, cheap way to spend time together, and is something that he will get to enjoy the results of for a long time to come. Here’s how we did it.
Customizing Your Ripstik
What you need:
Phillips screwdriver
Krylon Fusion for Plastic Spray Paint – 12 oz. Aerosol (gloss finish)
Krylon Fusion for Plastic’ Clear Coat 12 oz. Aerosol
cardboard, or newspaper, a standard drop cloth
Allen wrench
Eye protection
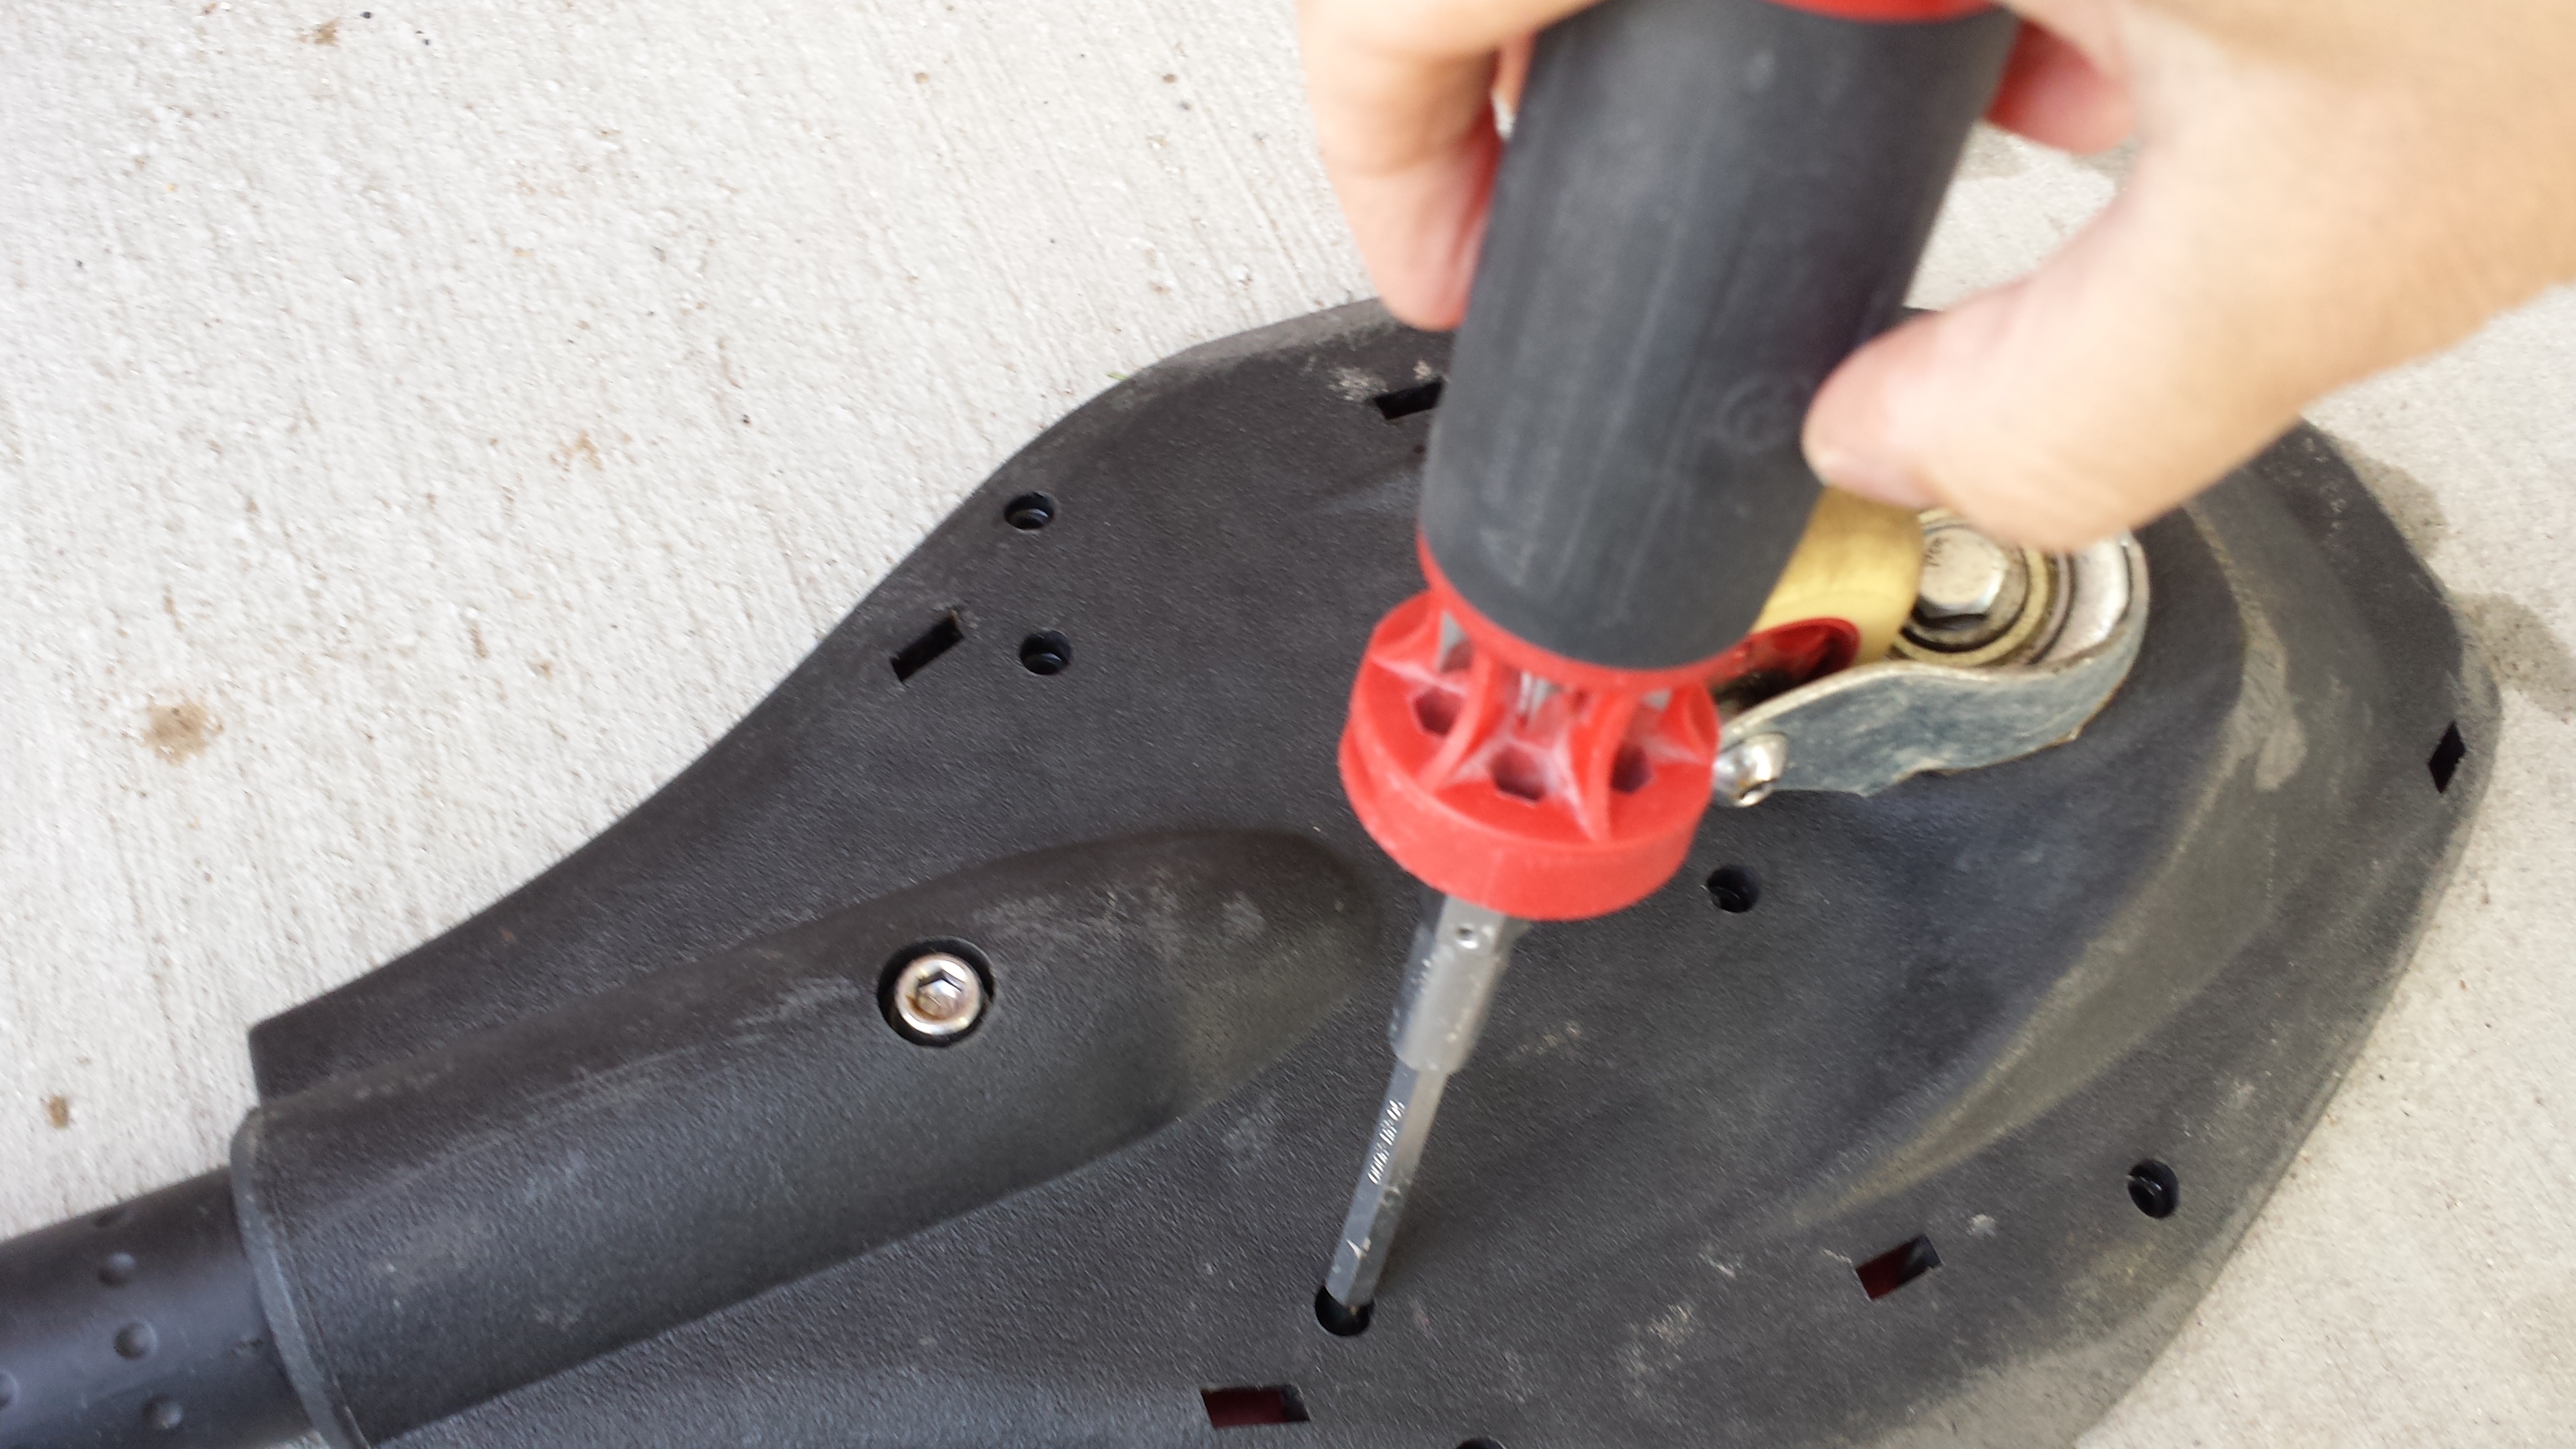
Take your ripstick and turn it over so it is laying flat upside down. There will be several screws which hold the plates on the top of the board. Unscrew and remove all of the little screws, and place the them in a ziplock bag so you don’t lose them. You’ll need them to put the board back together once you are done.
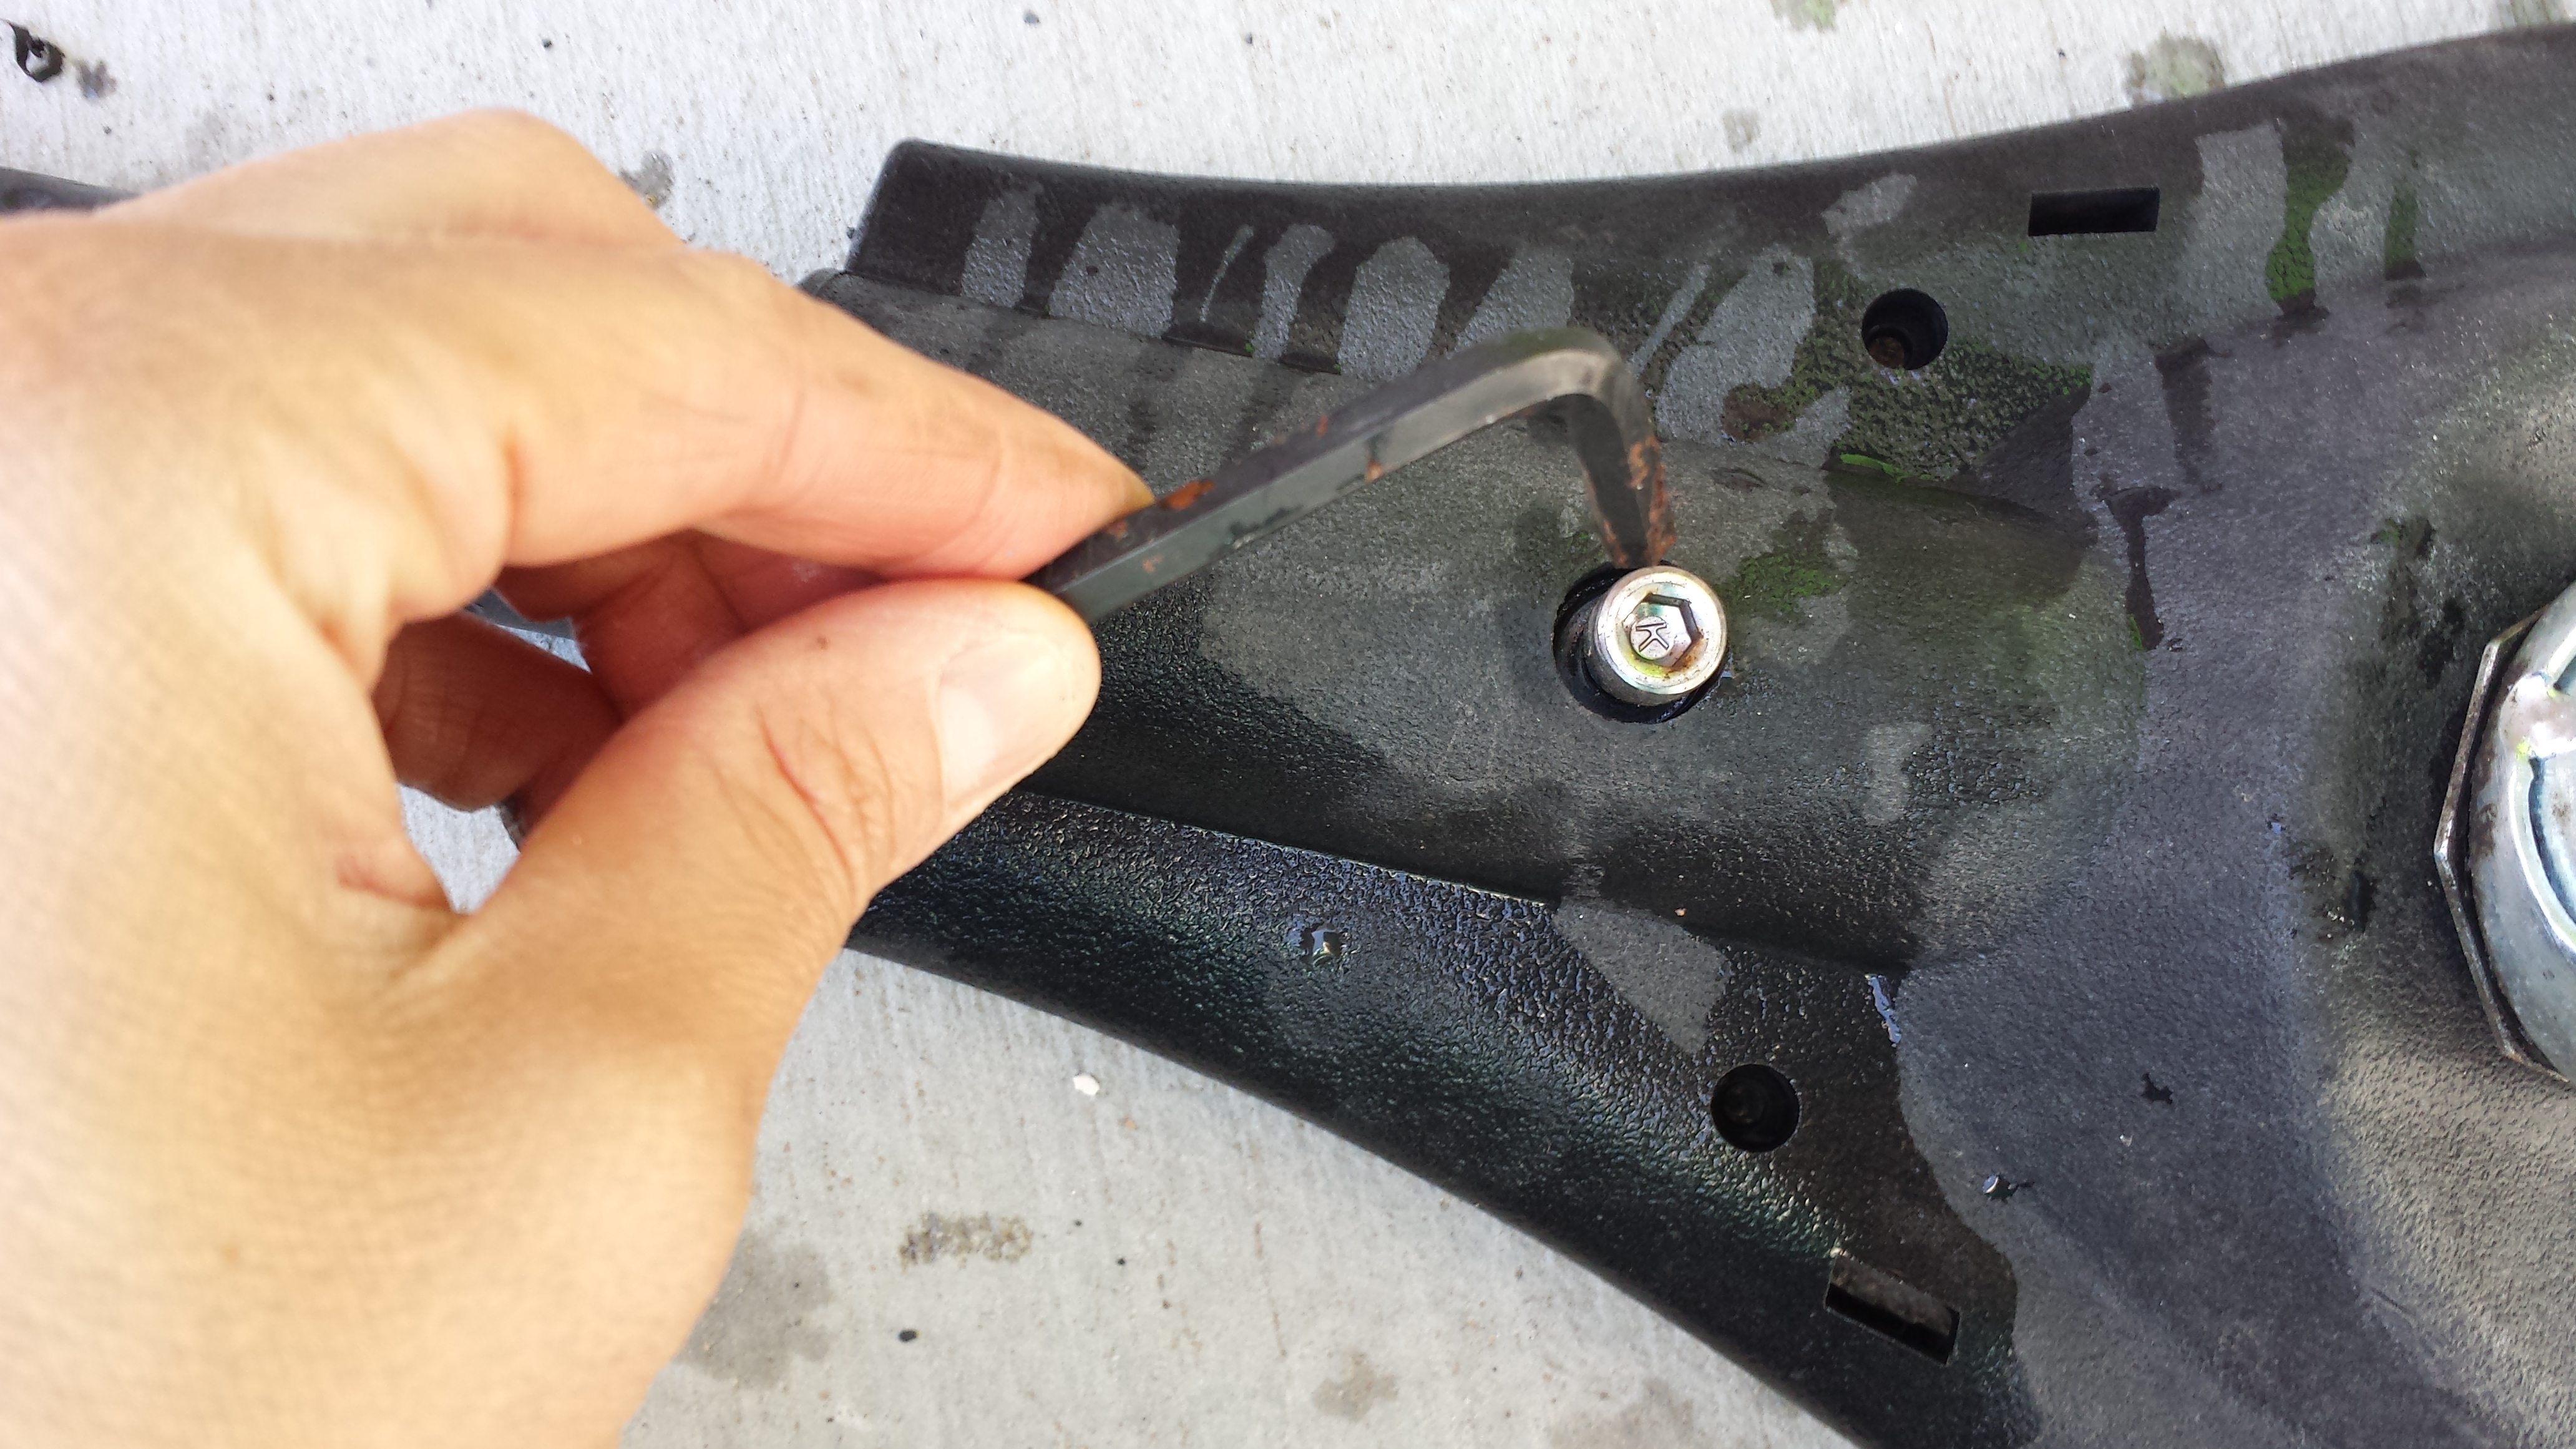
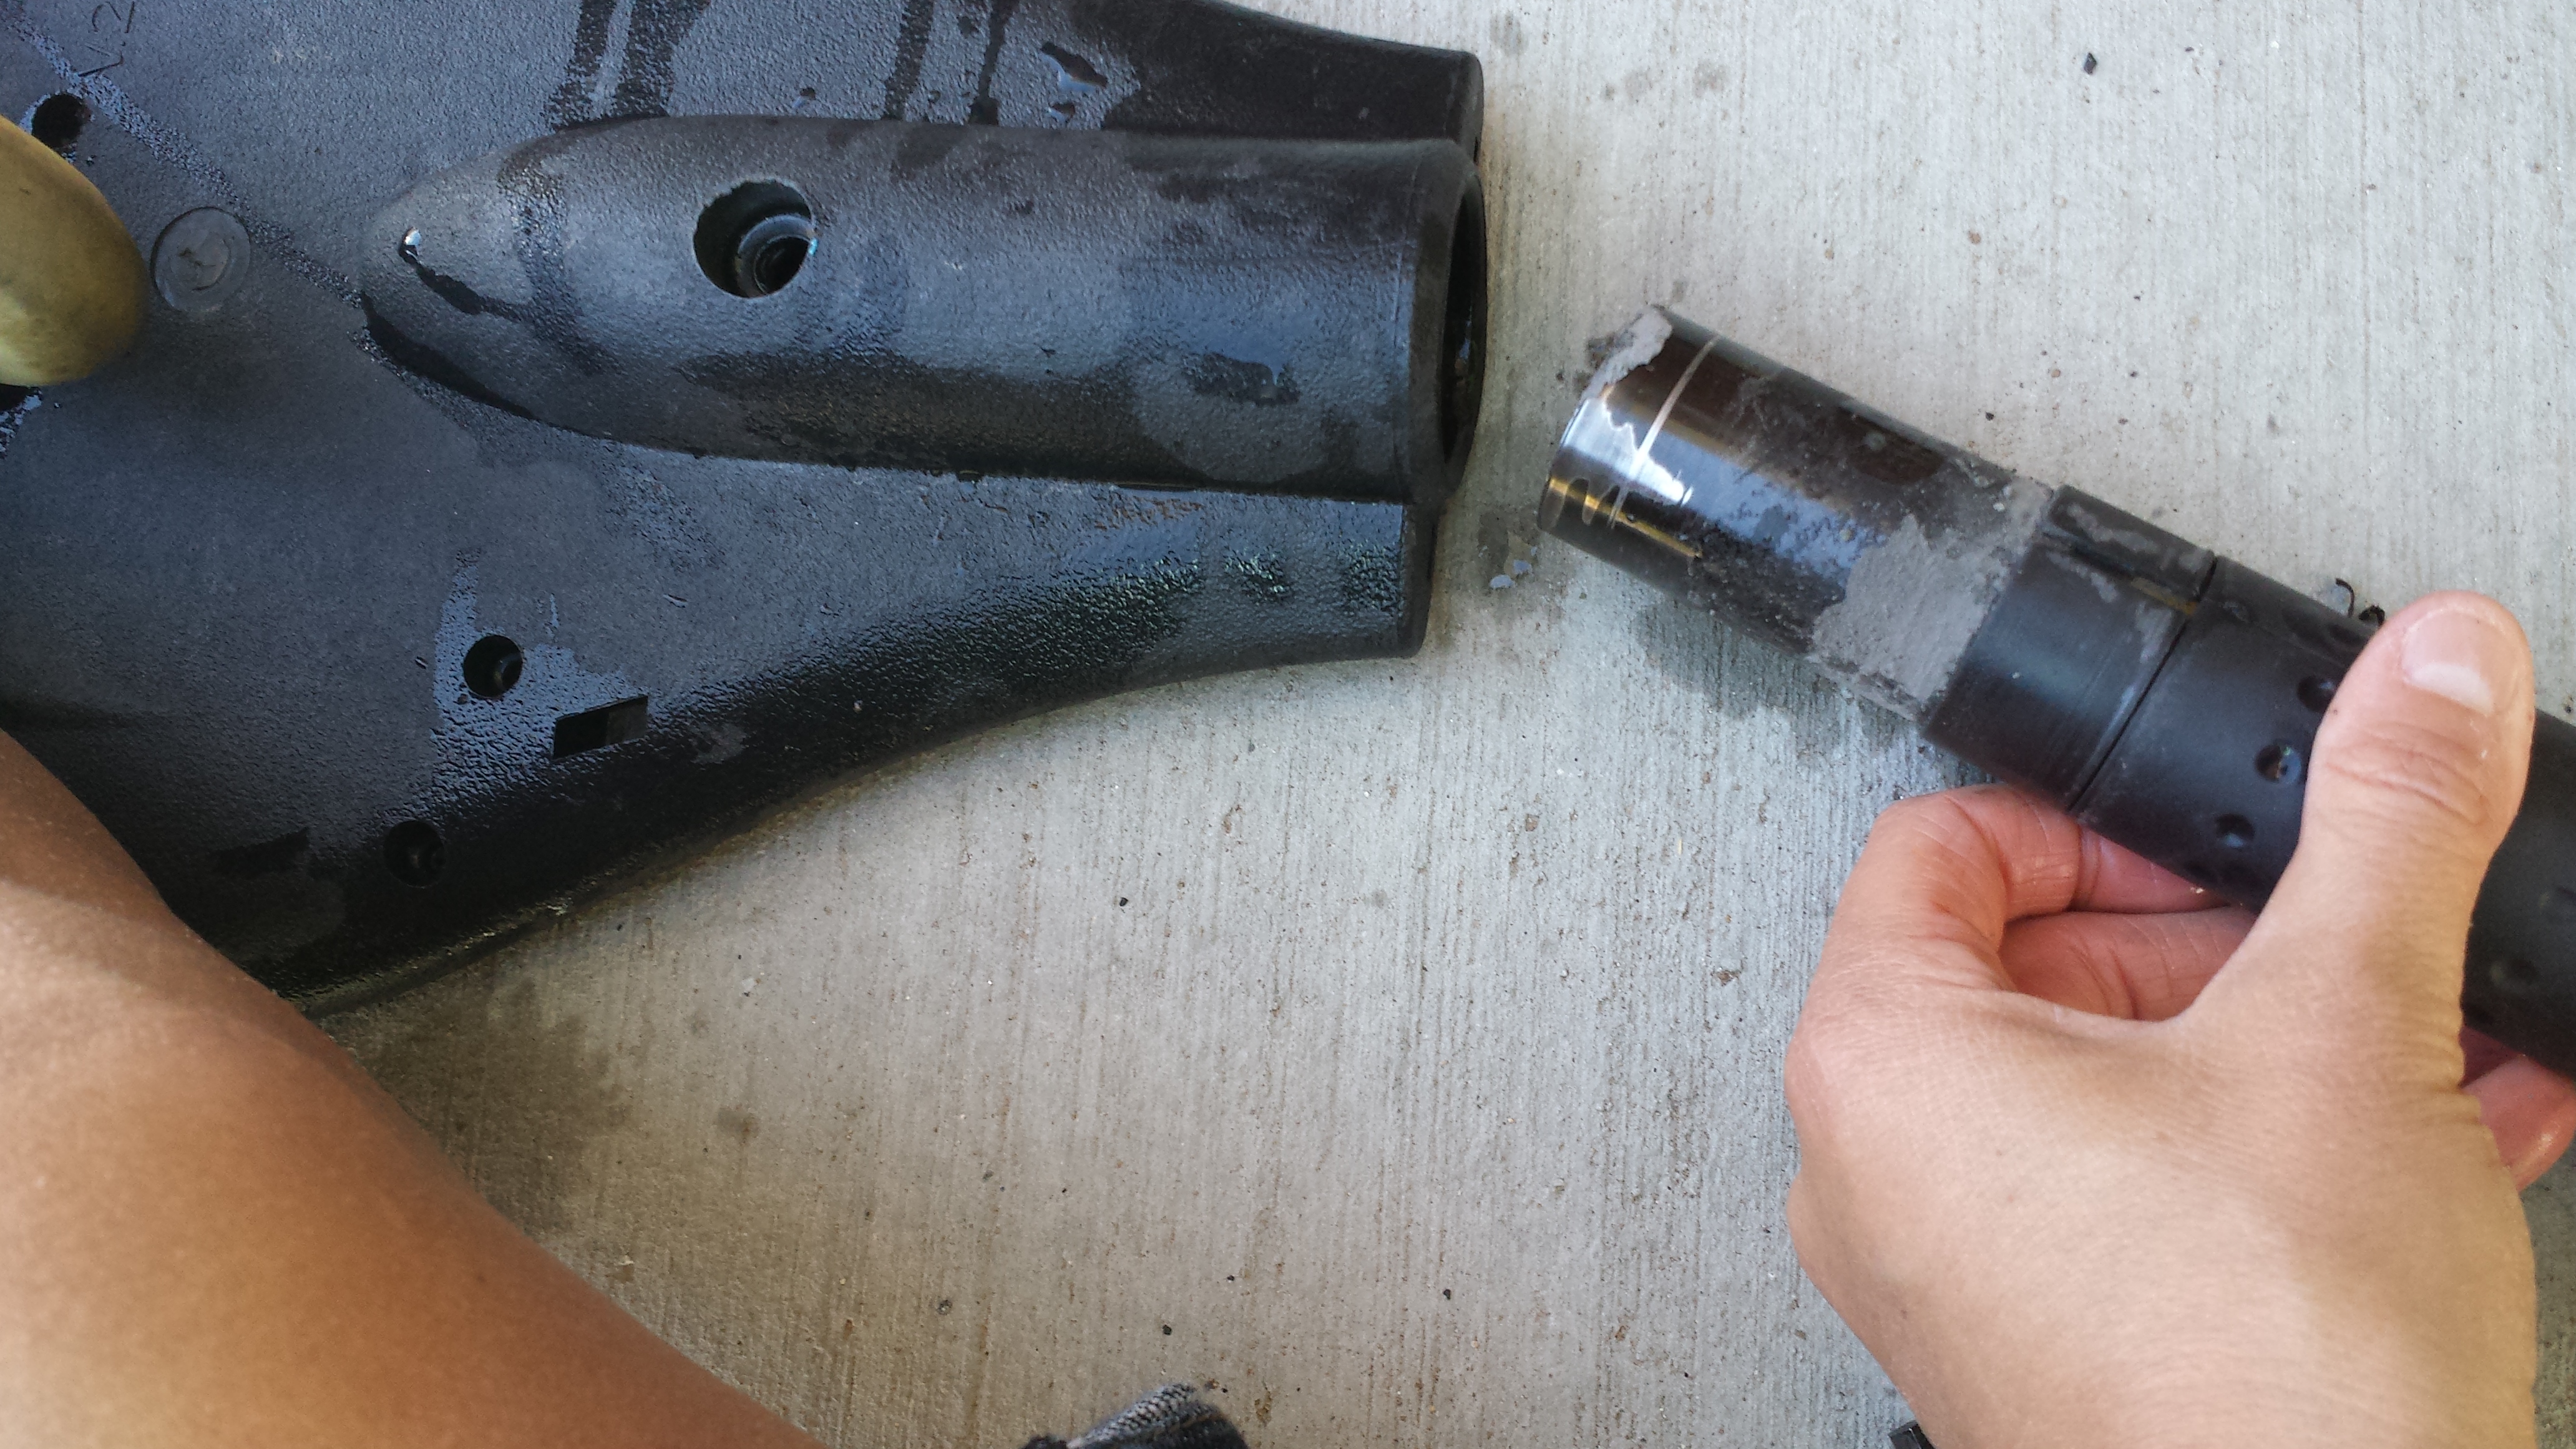
If you want to paint the middle piece cylinder piece, use an allan wrench to remove the larger screws holding it in place on the back of the board. slide the cylinder out, and place the screw in the ziplock with the others.
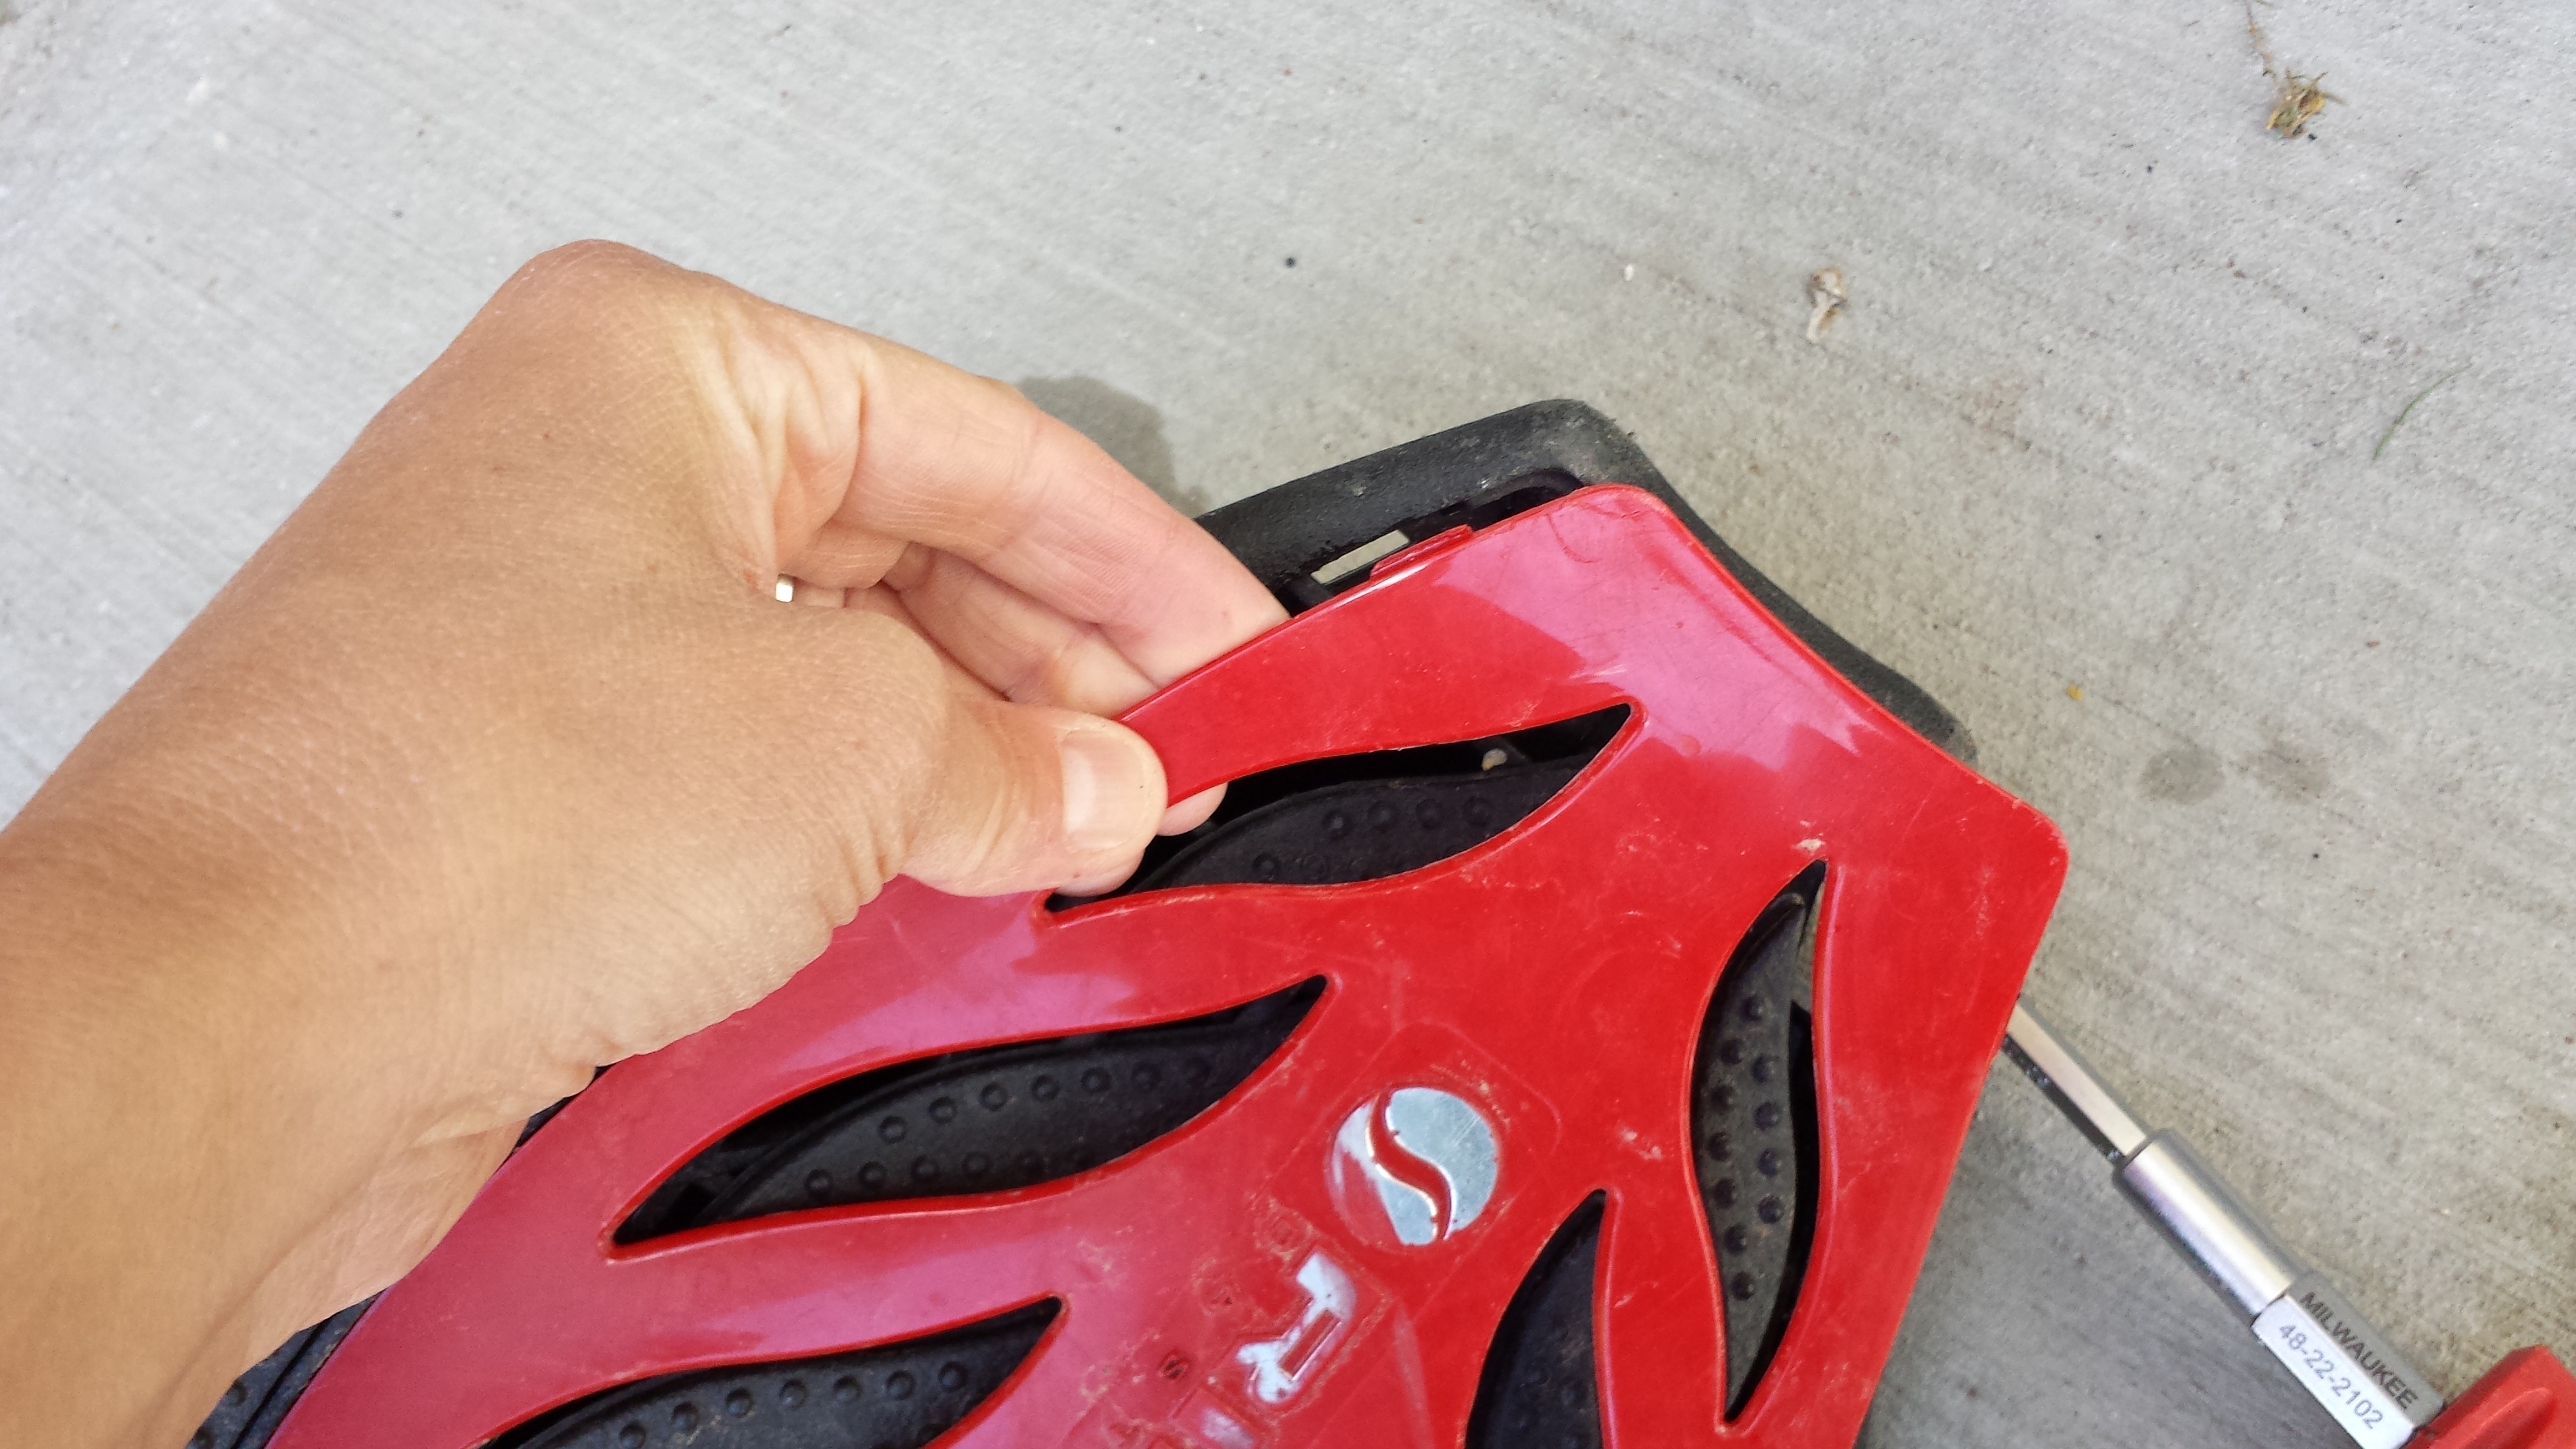
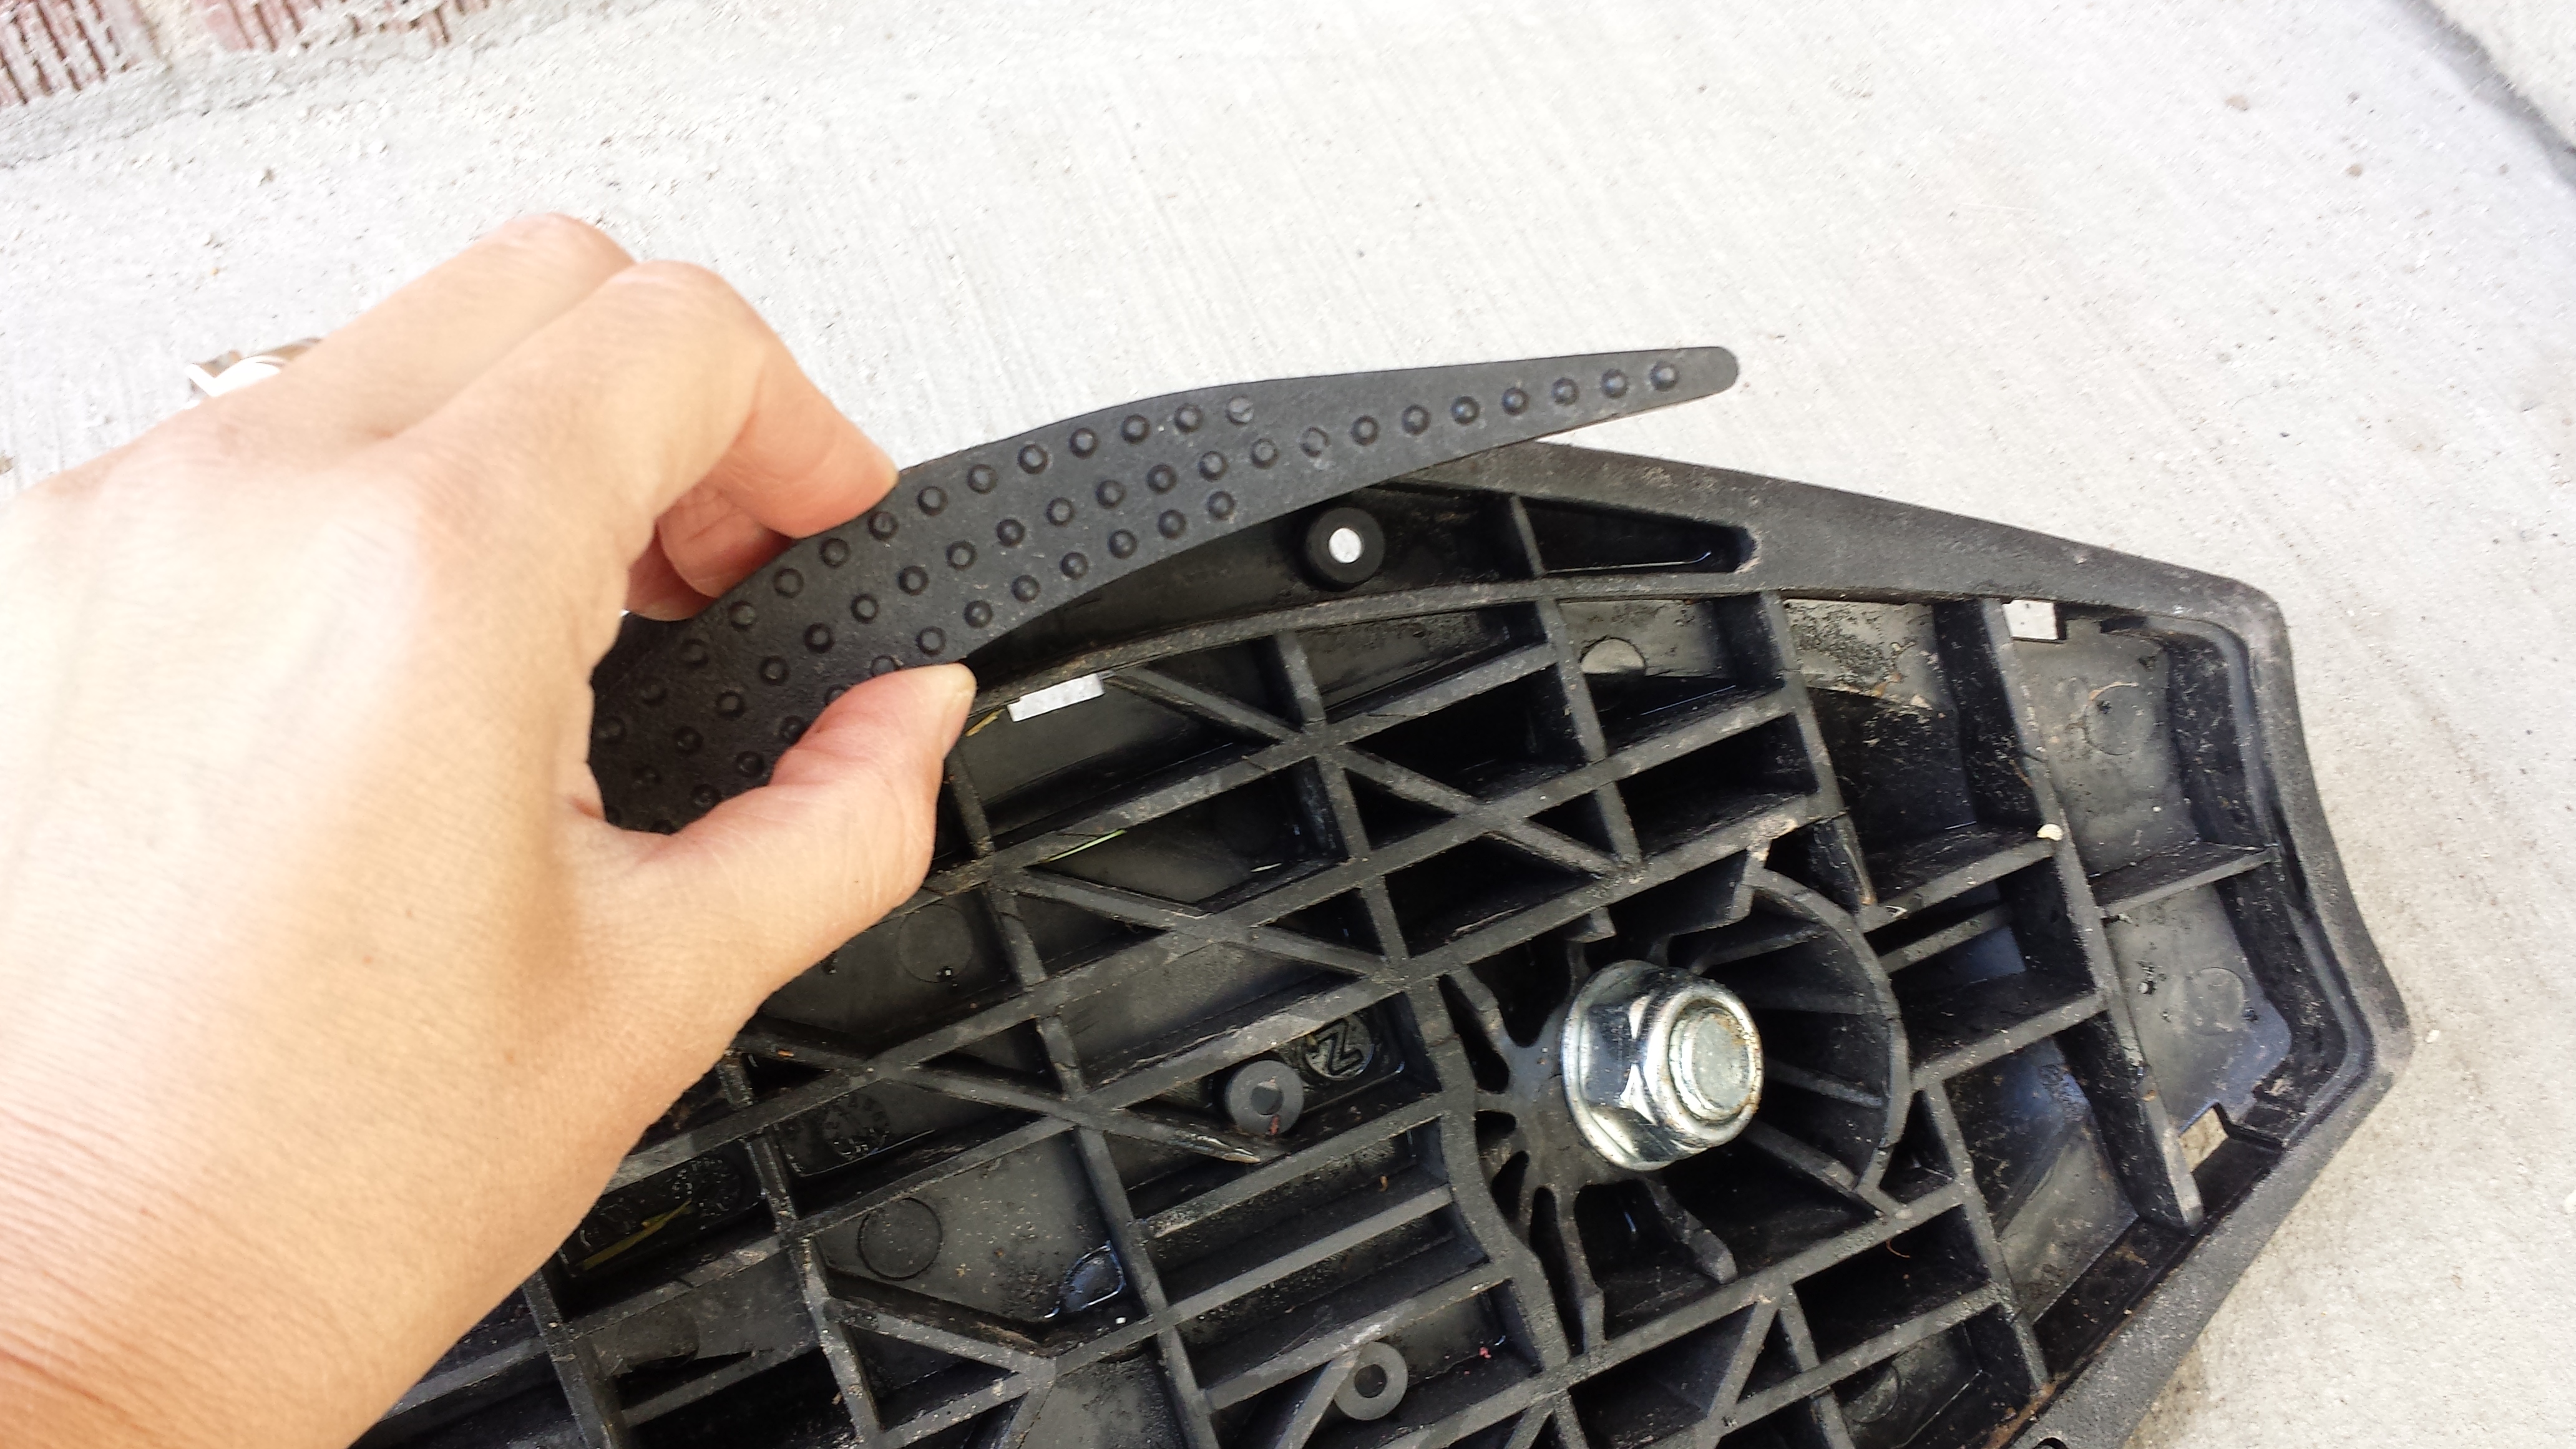
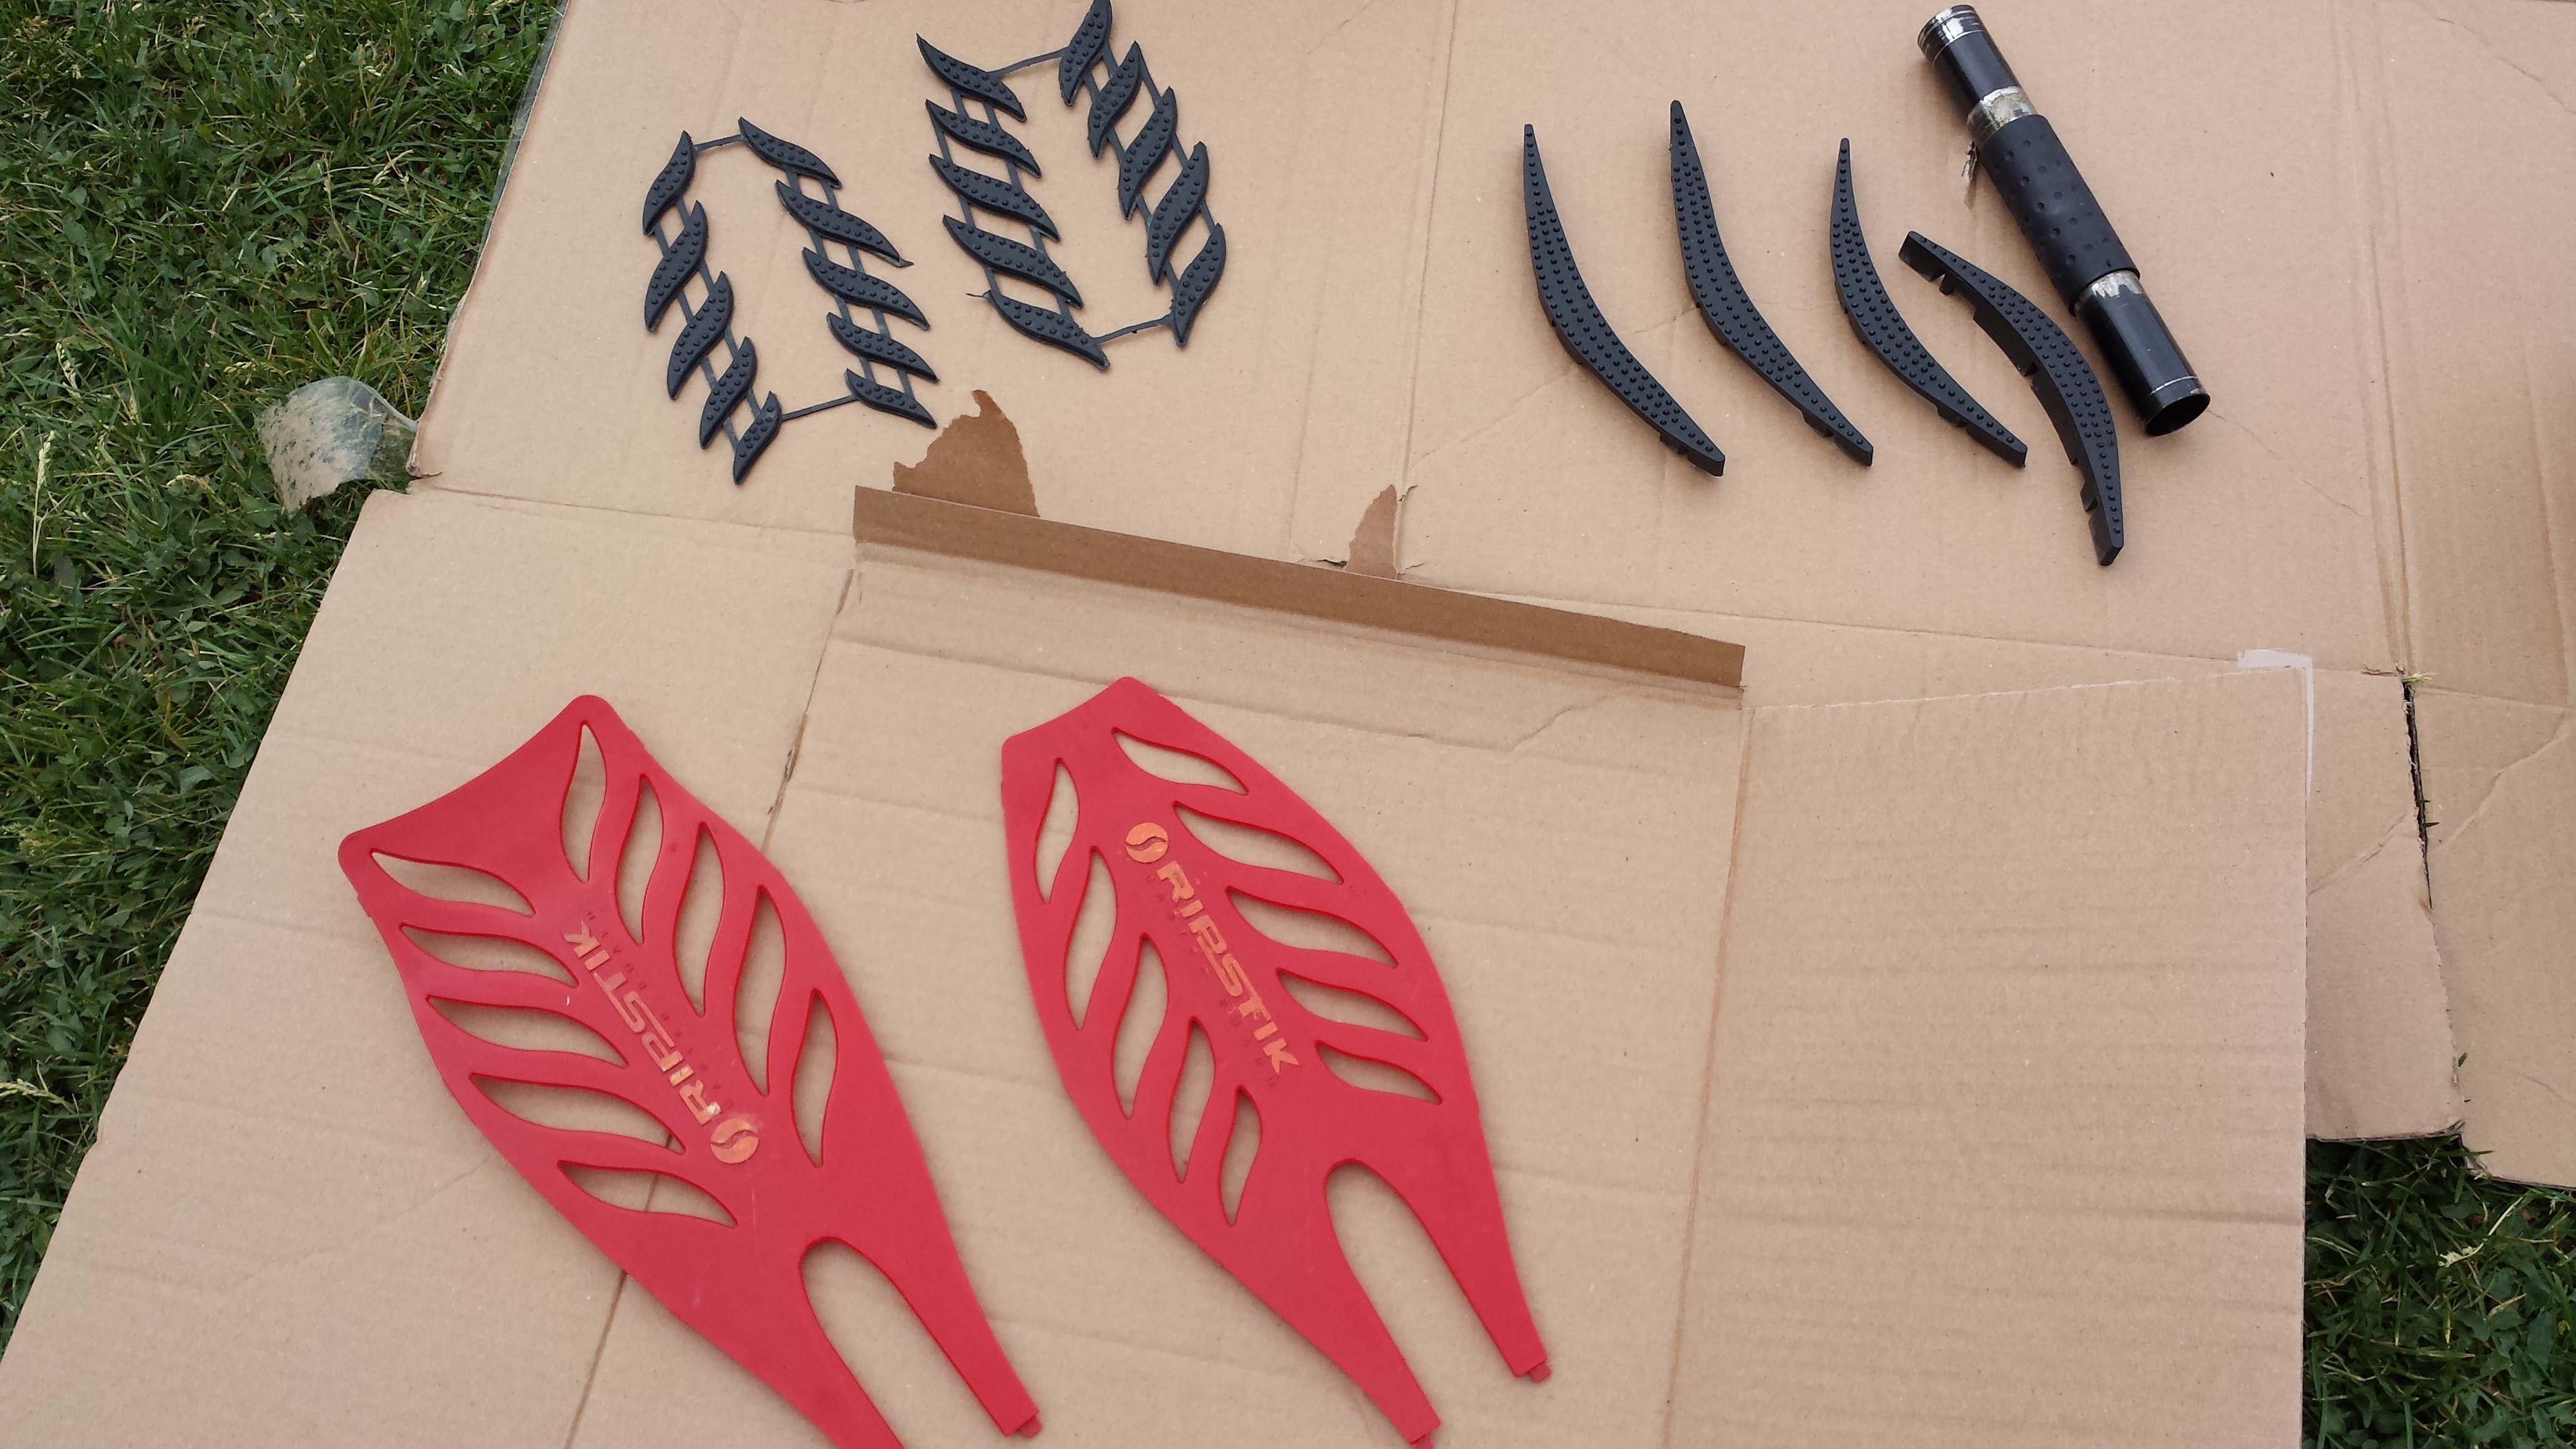
Once you have removed all the screws, flip the board over and remove the kick plates on the top surface of the board. They may pop right out, but you may need to pry the plates out from the OUTSIDE EDGES, gently, using a flat head screwdriver or something long and thin. Once the plates are out wash them with soap and water and dry thoroughly. Place dry plates on your designated drop cloth area. Make sure you are in a well ventilated area that is at least 60 degrees F.
The key to getting a good finish is having the right paint for your project. Since a ripstik is plastic, you need to have a paint that bonds to plastic. The Krylon
specific brand requires no priming or sanding. That is always a huge bonus. Make sure you choose a gloss finish so because it is easy to work with and shows less flaws. Plus it looks all shiny and new when you’re done 🙂 Because the board will encounter a lot of wear, you also MUST put on a protective clear coat. This will seal the paint, repel dirt, and even prevent fading.
The Krylon specific spray can, has an adjustable spray nozzle. Make sure it is vertical (going up and down). Shake the can well.(Make sure you have eye protection for all participating.) Hold the spray can about 8 inches from the piece, and start to spray OFF the side of the piece and slowly go over it until you go completely off the other side. You want to repeat this about 4 more times. STOP THERE. The finish will be very light and not cover the whole piece. You will be dying to spray more color at this point, but DON’T! This is right where you want to be at this point. You want multiple light coats for the best finish.
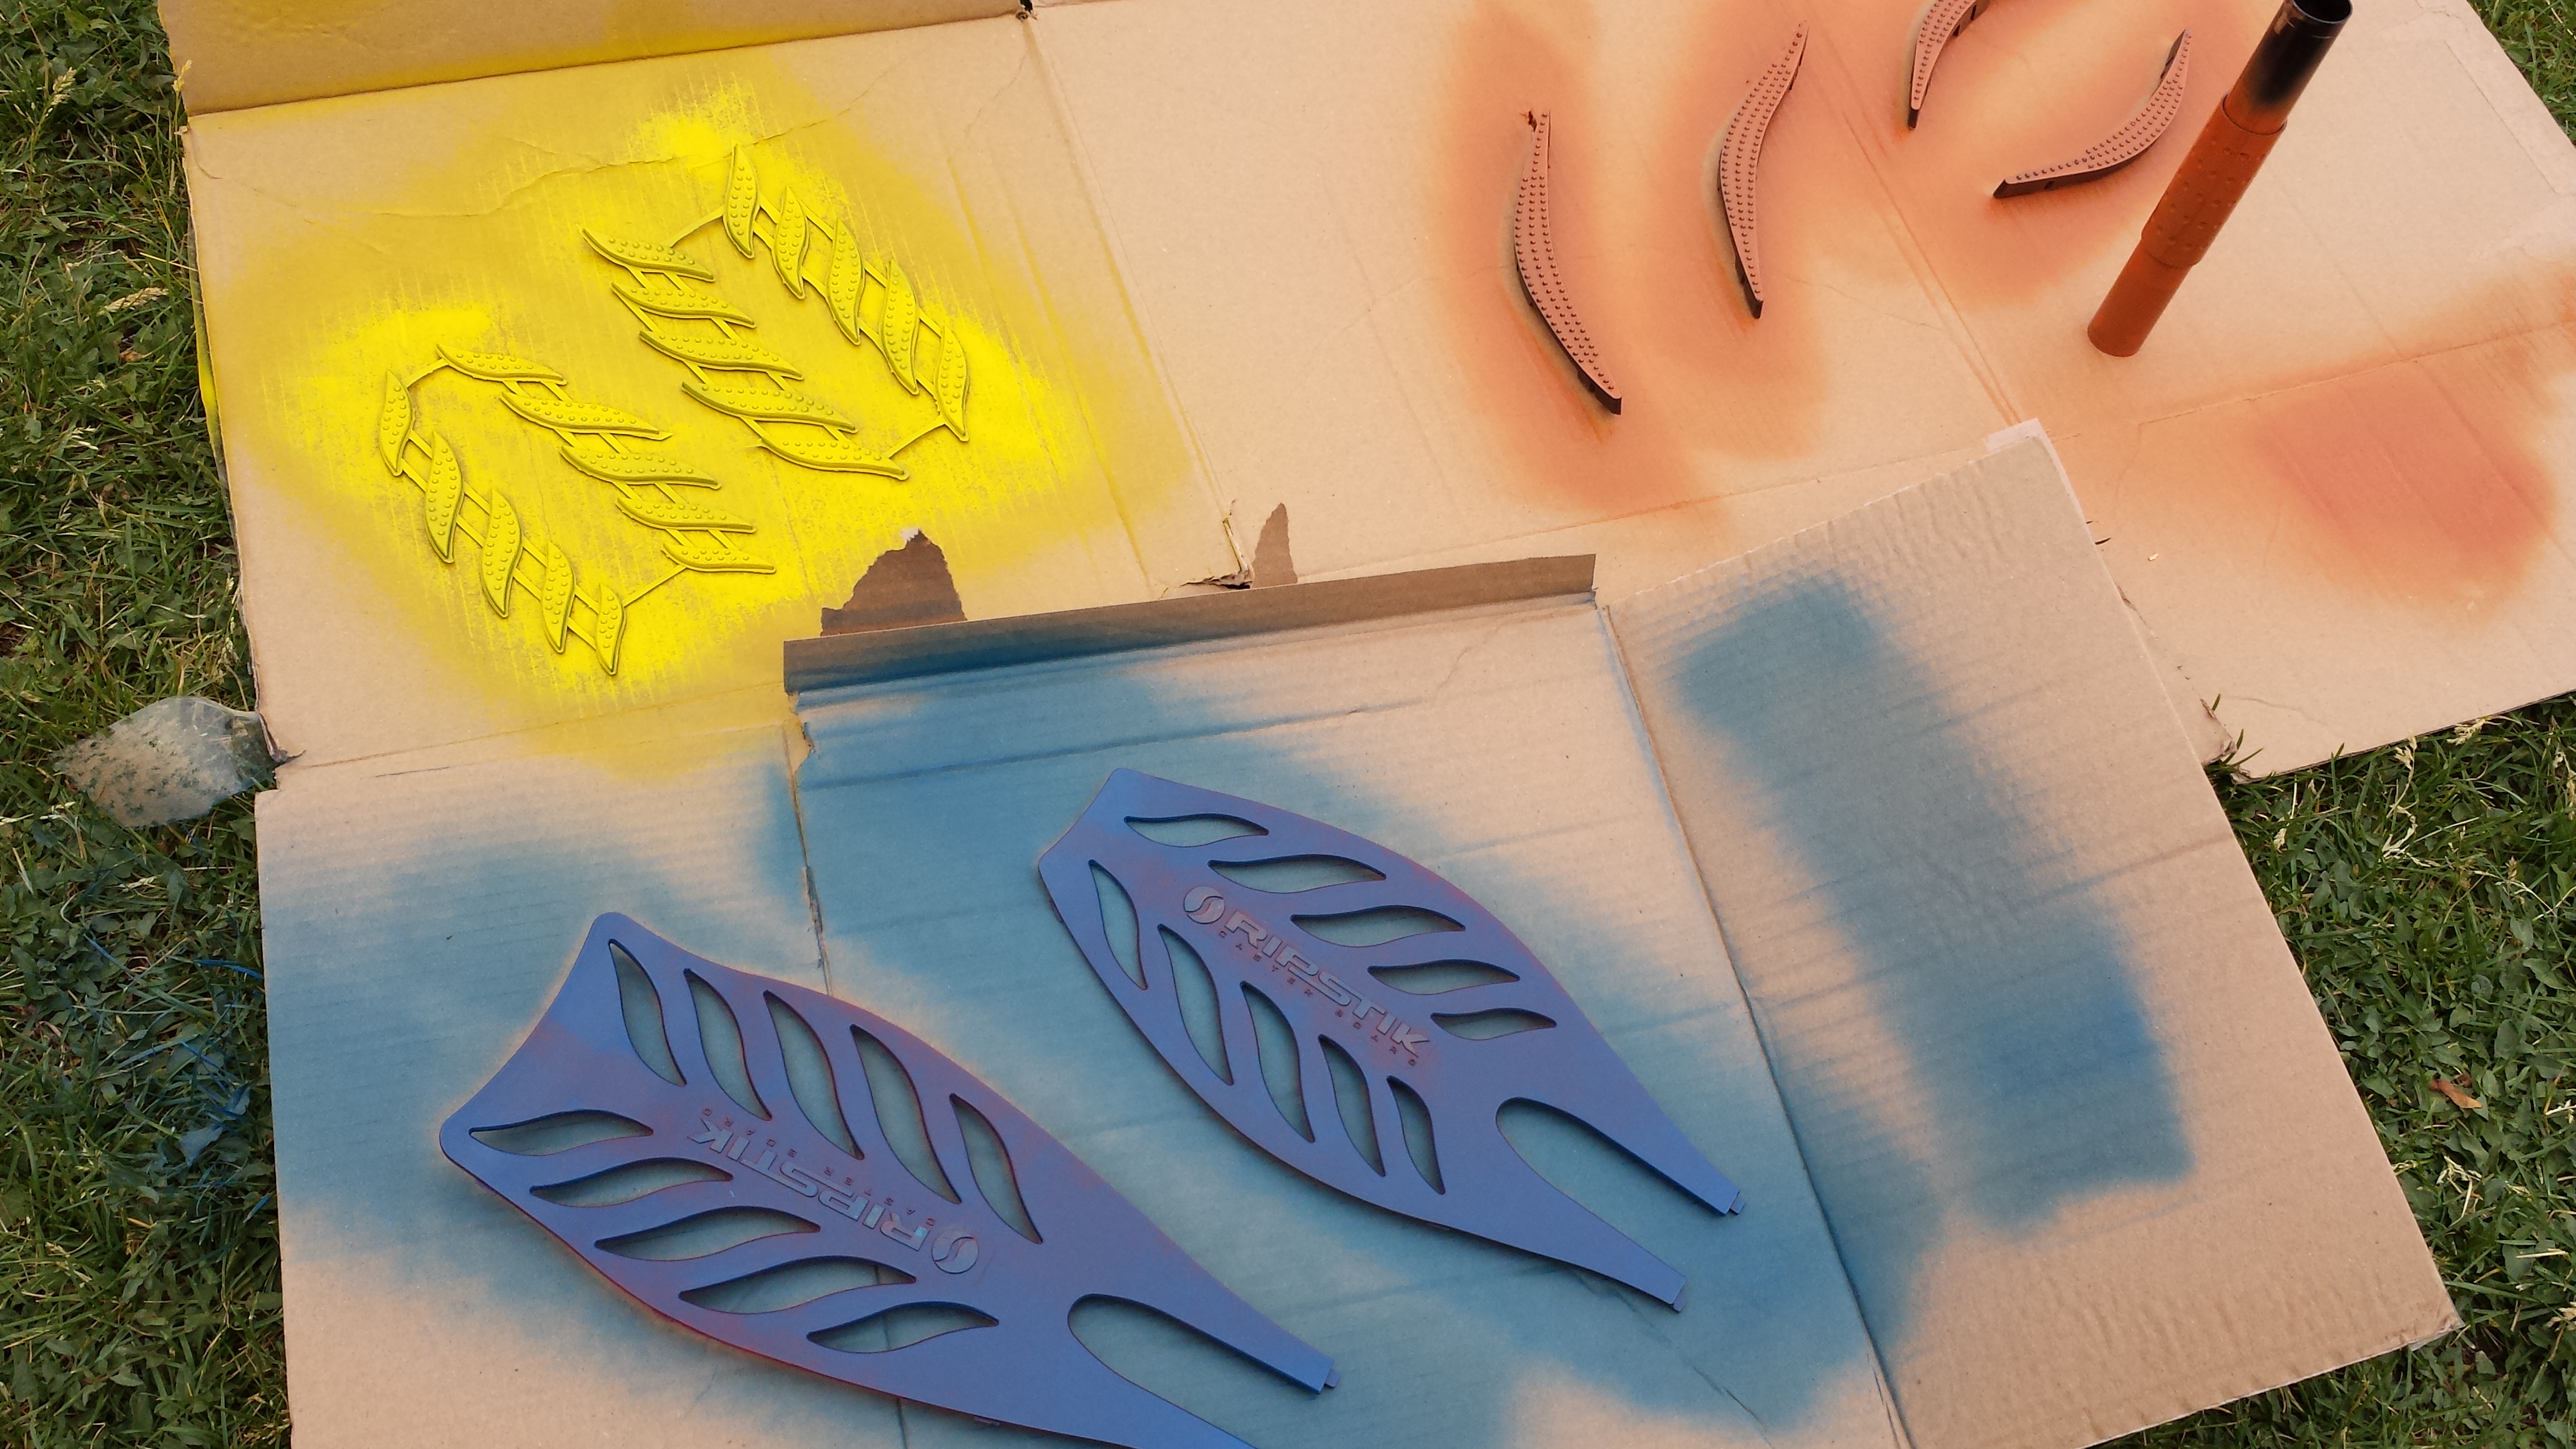
After letting the first coat dry for about 15 minutes, go repeat the same process 2 to 3 more times (or as many as you need to get a good even look) Once you have the desired color coverage, walk away for an hour before spraying the clear coat.
When you are ready for the clear coat, follow the same spray rules, 8 inches away, slow, even strokes, and always start and end OFF the piece. I put 2 coats of clear coat 15 minutes apart for extra protection. When you are done with the clear coats, let them dry for at least 24 hours before handling the pieces.
To put the ripstik back together, reverse the process. Snap the pieces back into place, turn over and replace the screws. YOU, my friend have a new, custom ride!
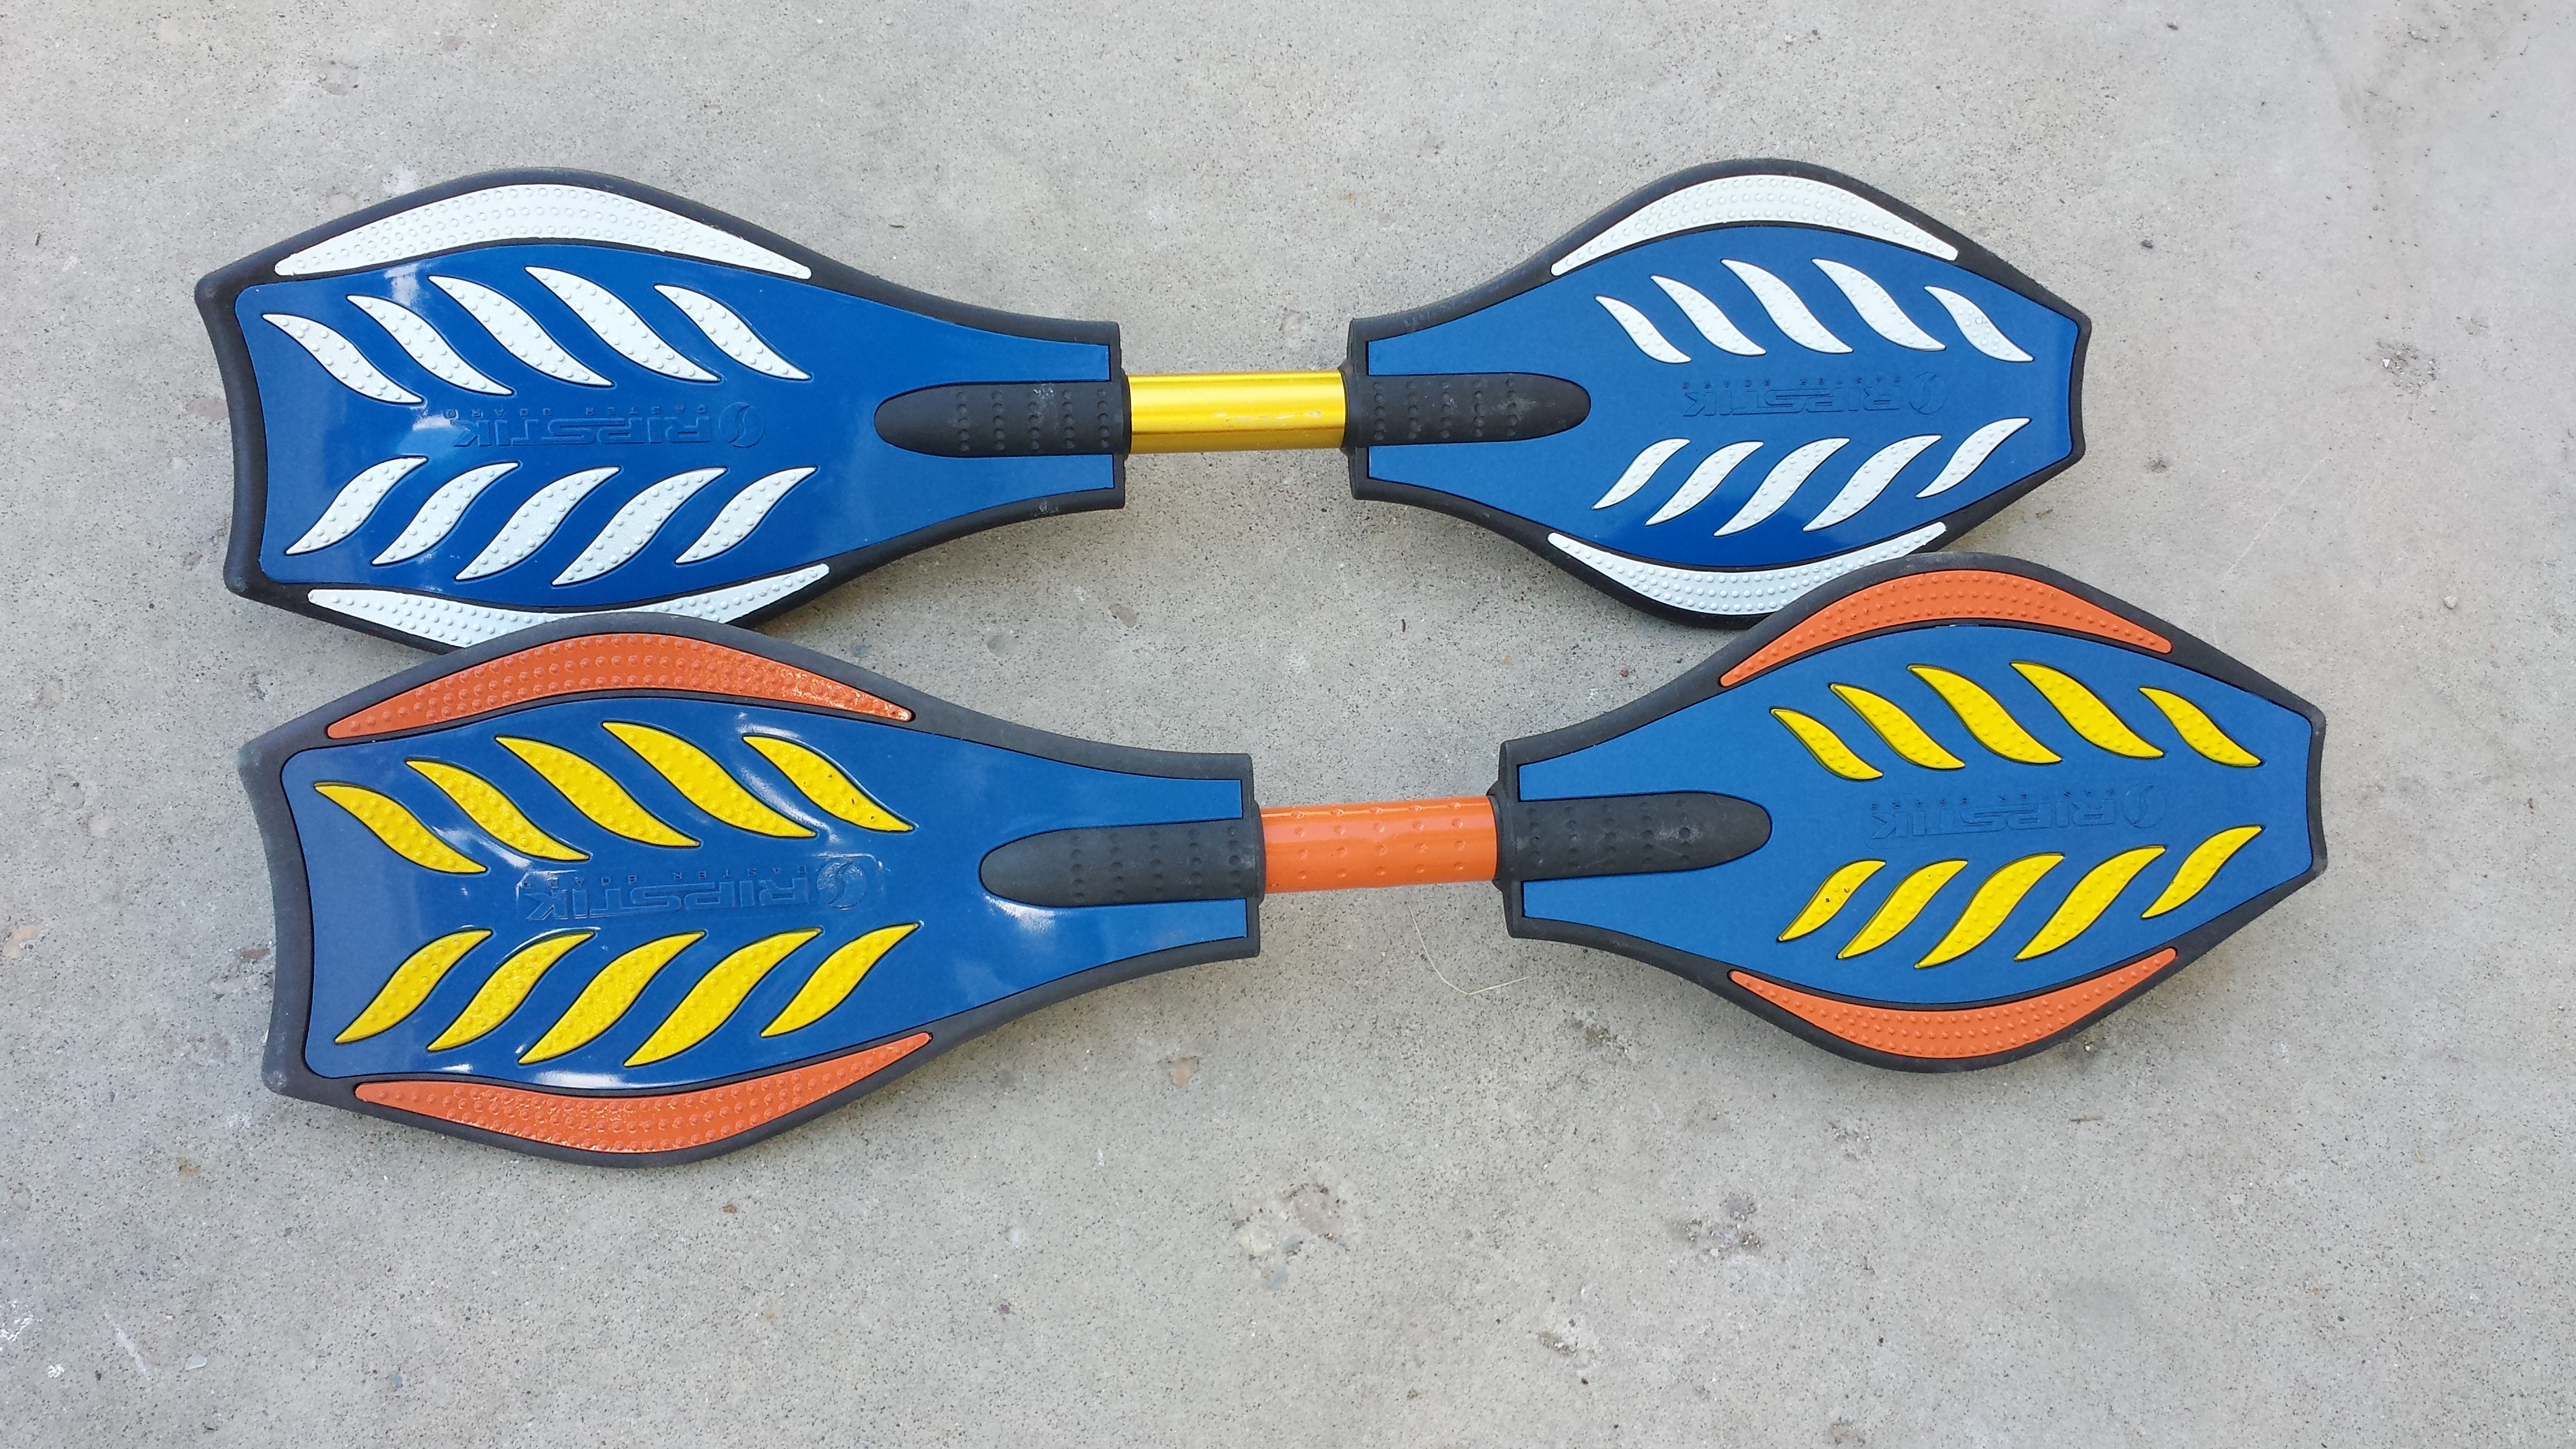
These are the finished products of my son and his friend. They were absolutely giddy when we put these things back together. Okay moms, it’s time to go earn some serious “cool points” with your kids!
