The Mama's Girls

  • Home
  • Blog
    • Top Posts
    • Kid Activities
      • More Kids Stuff
    • Recipes
      • Healthy Recipes
      • Breads & Rolls
      • Breakfast
      • Candy
      • Cookies
      • Desserts
      • Salads
      • Sides
        • Side Dishes
      • Slow Cooker
      • Dinner
      • Snacks
      • Soups & Stews
      • More Food
    • DIY Projects
      • Crafts
      • Sewing
    • Home Projects
      • Decorating
      • Furniture
      • Cleaning
      • Helpful Hints & Tips
      • Laundry Room
      • Mommy Hacks
      • Repurposing
    • Tutorials
    • Health & Beauty
      • DIY Beauty
      • Essential Oils
      • Hair
      • Makeup
      • Remedies
    • Seasonal
      • Back to School
      • Birthdays
        • Birthday Ideas
      • Holidays
        • Valentine’s Day
        • 4th of July
        • Mothers/Fathers Day
        • Halloween
        • Thanksgiving
        • Christmas
    • Church
    • Fashion
    • Fitness
    • Freebies!
    • Gift Ideas
    • Photography
      • Photography Tips
      • DIY Photography
    • Events
      • Party
    • Misc.
      • Save Money
      • Products We Reccomend
      • Reviews
      • Summer Fun
  • Disclosure
  • Work With Us

How To Add Ruching to A Shirt or Dress

July 25, 2014 by Ali 3 Comments

How To Add Ruching to a Shirt or Dress

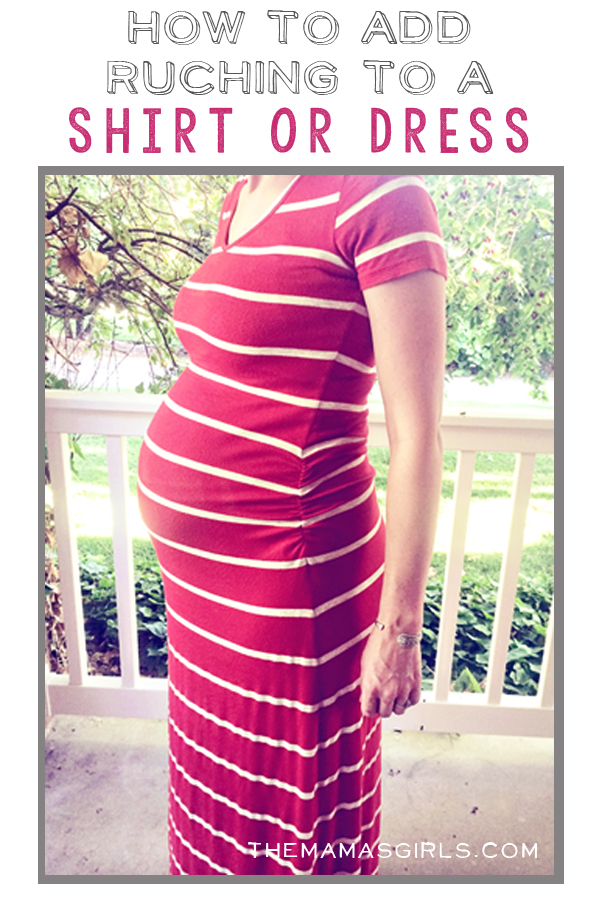
For almost two years now, I have been dreaming of adding some ruching to a dress that I got at on Alloy.com. They seriously have the best maxi dresses because they have sleeves! (I love not having to layer clothing in the summer.) The dress that I ordered, I intentionally got a size bigger than I usually wear because I wanted to use it for a maternity dress. It was slightly too long so I wanted to add ruching on the sides to take it up and make it a little more flattering around the midsection.

On the fourth of July this year, my mom showed me how to add some ruching with elastic. Now that I have done it once, I will definitely be doing it again. It makes a big difference in the fit, especially for a pregnant belly.

How To Add Ruching to A Shirt or Dress

  1. Try on the article of clothing inside out and see where you want the ruching to be placed. Pin it or mark it with a fabric pencil. add ruching to a shirt
  2. Decide how tight you want your ruching to be. I did mine 3.5 inches. Mark your elastic with a marker. I recommend that 3 inches be your minimum. Cut your elastic to that length and make sure to leave at least an inch on either side of the marked elastic to give yourself something to hold onto.
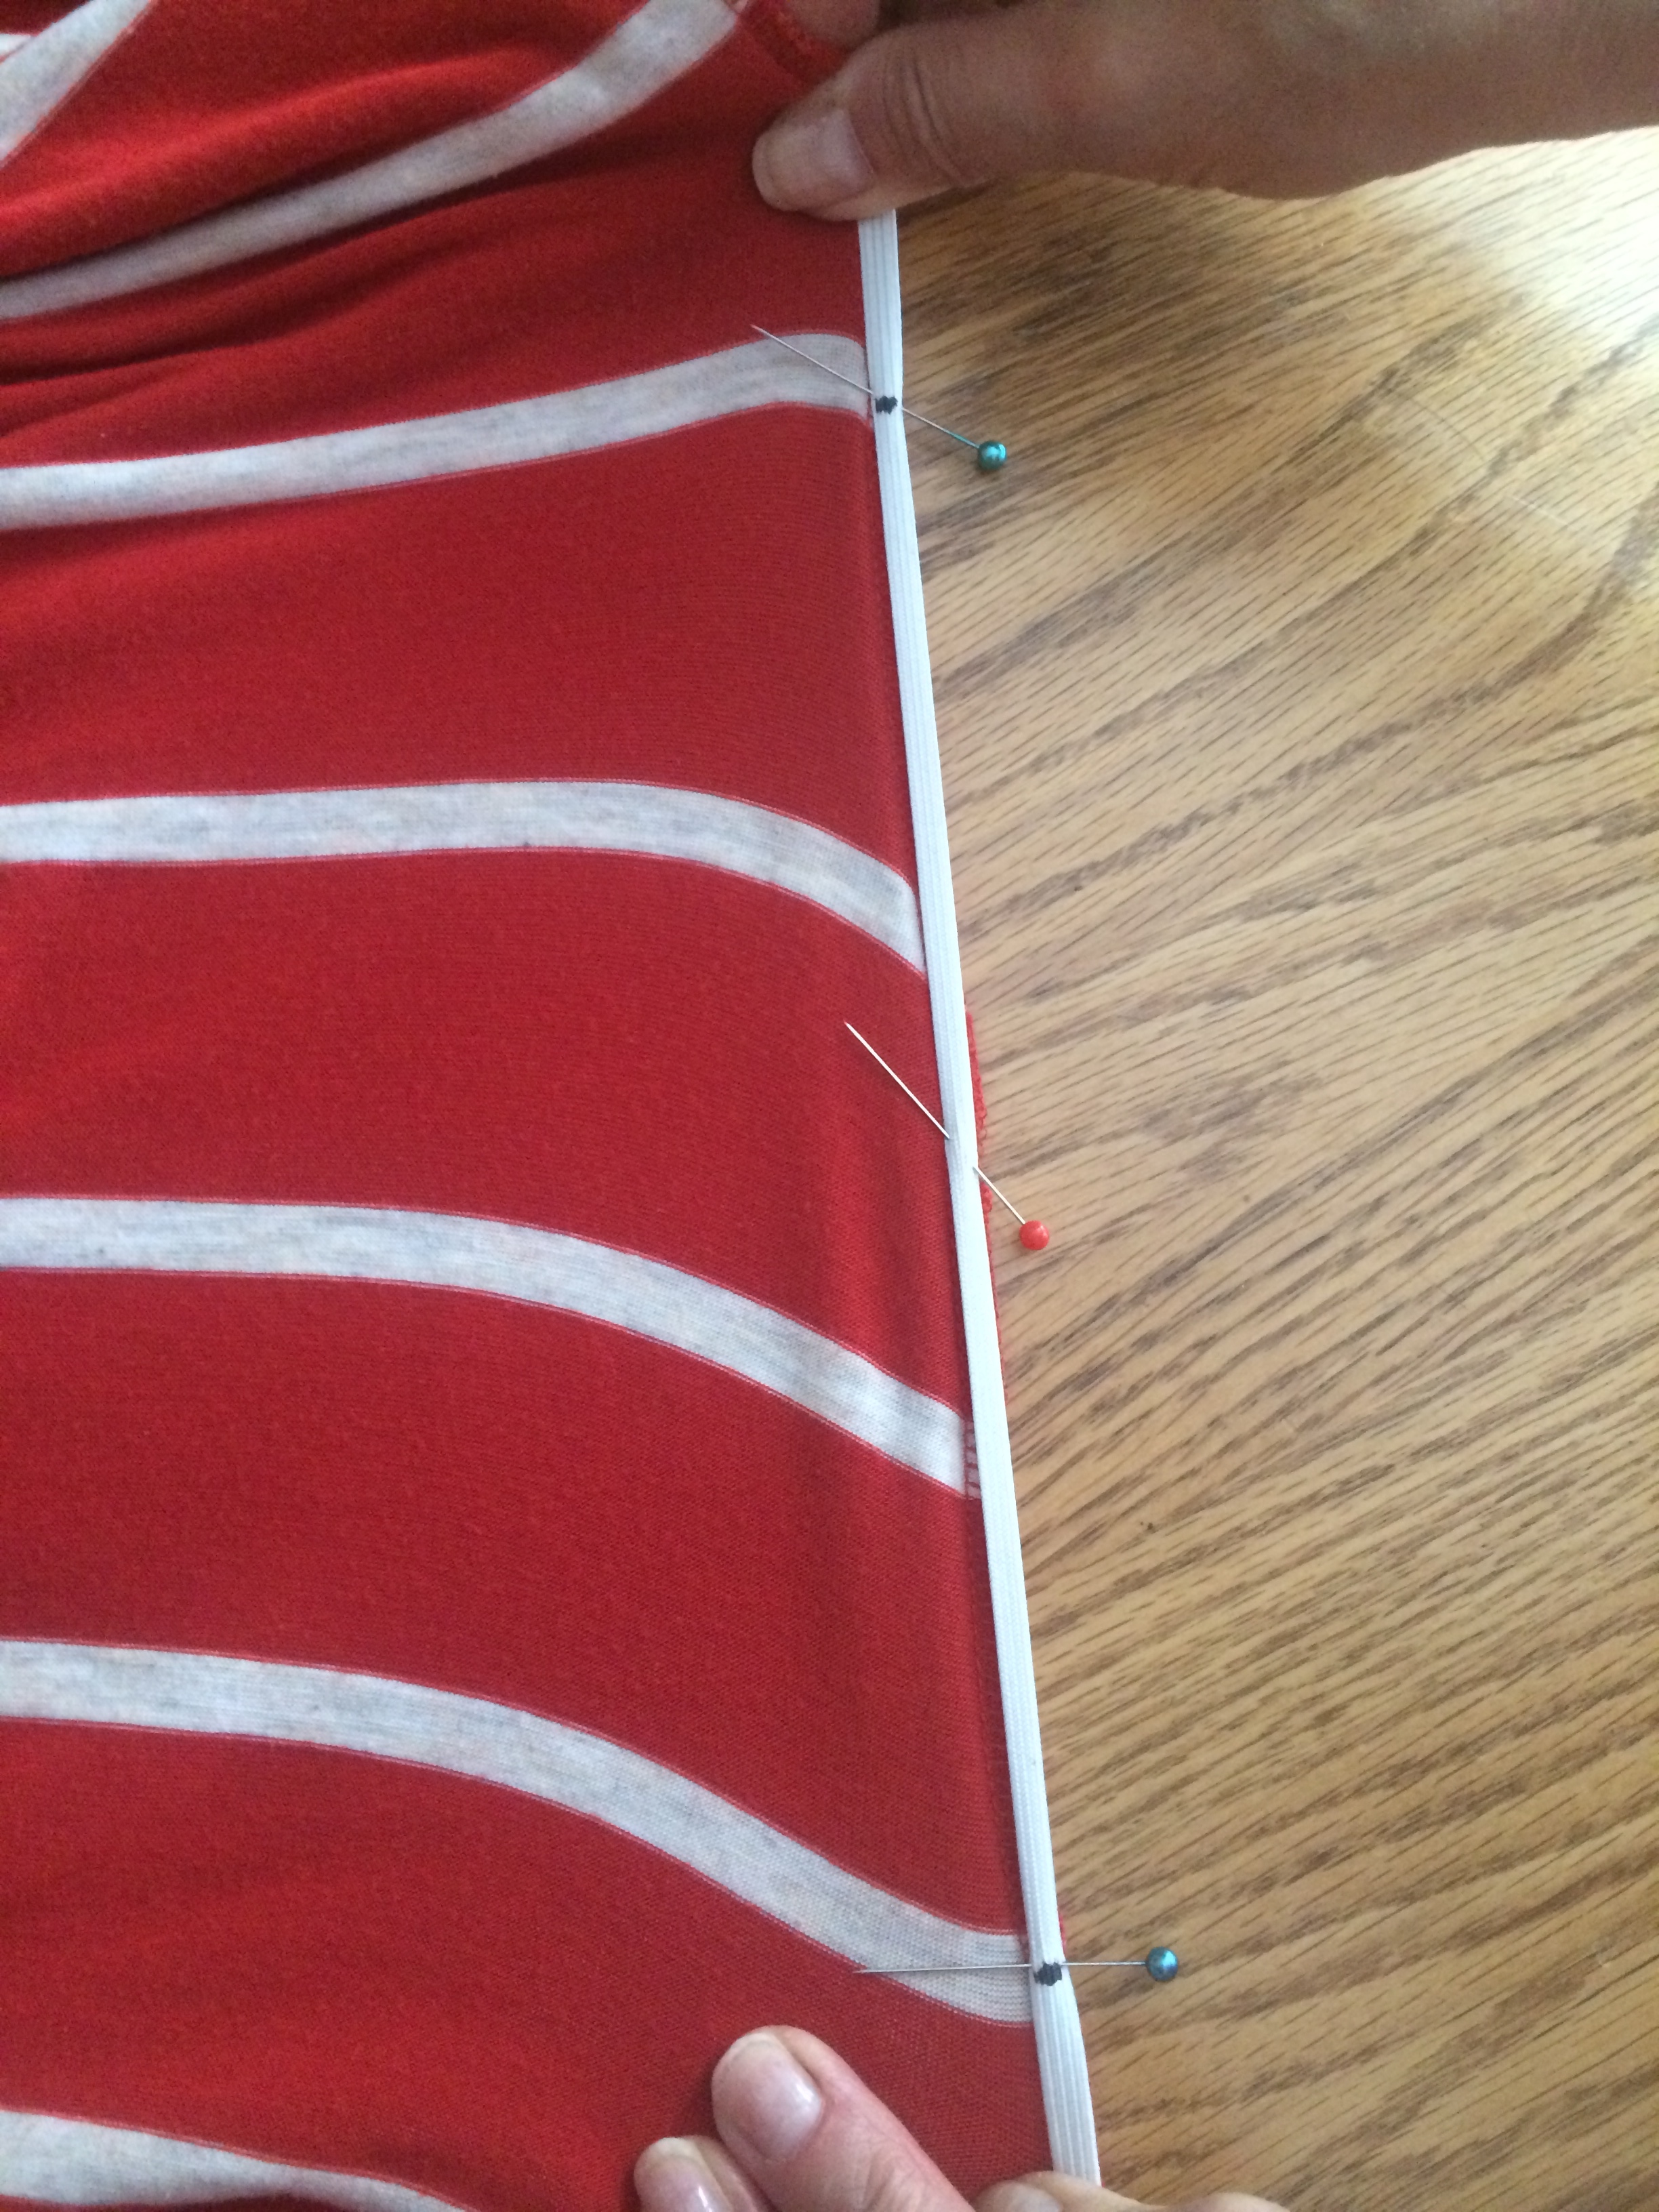
  3. Pin your marked elastic to the pins in on your clothing. IMG_7247
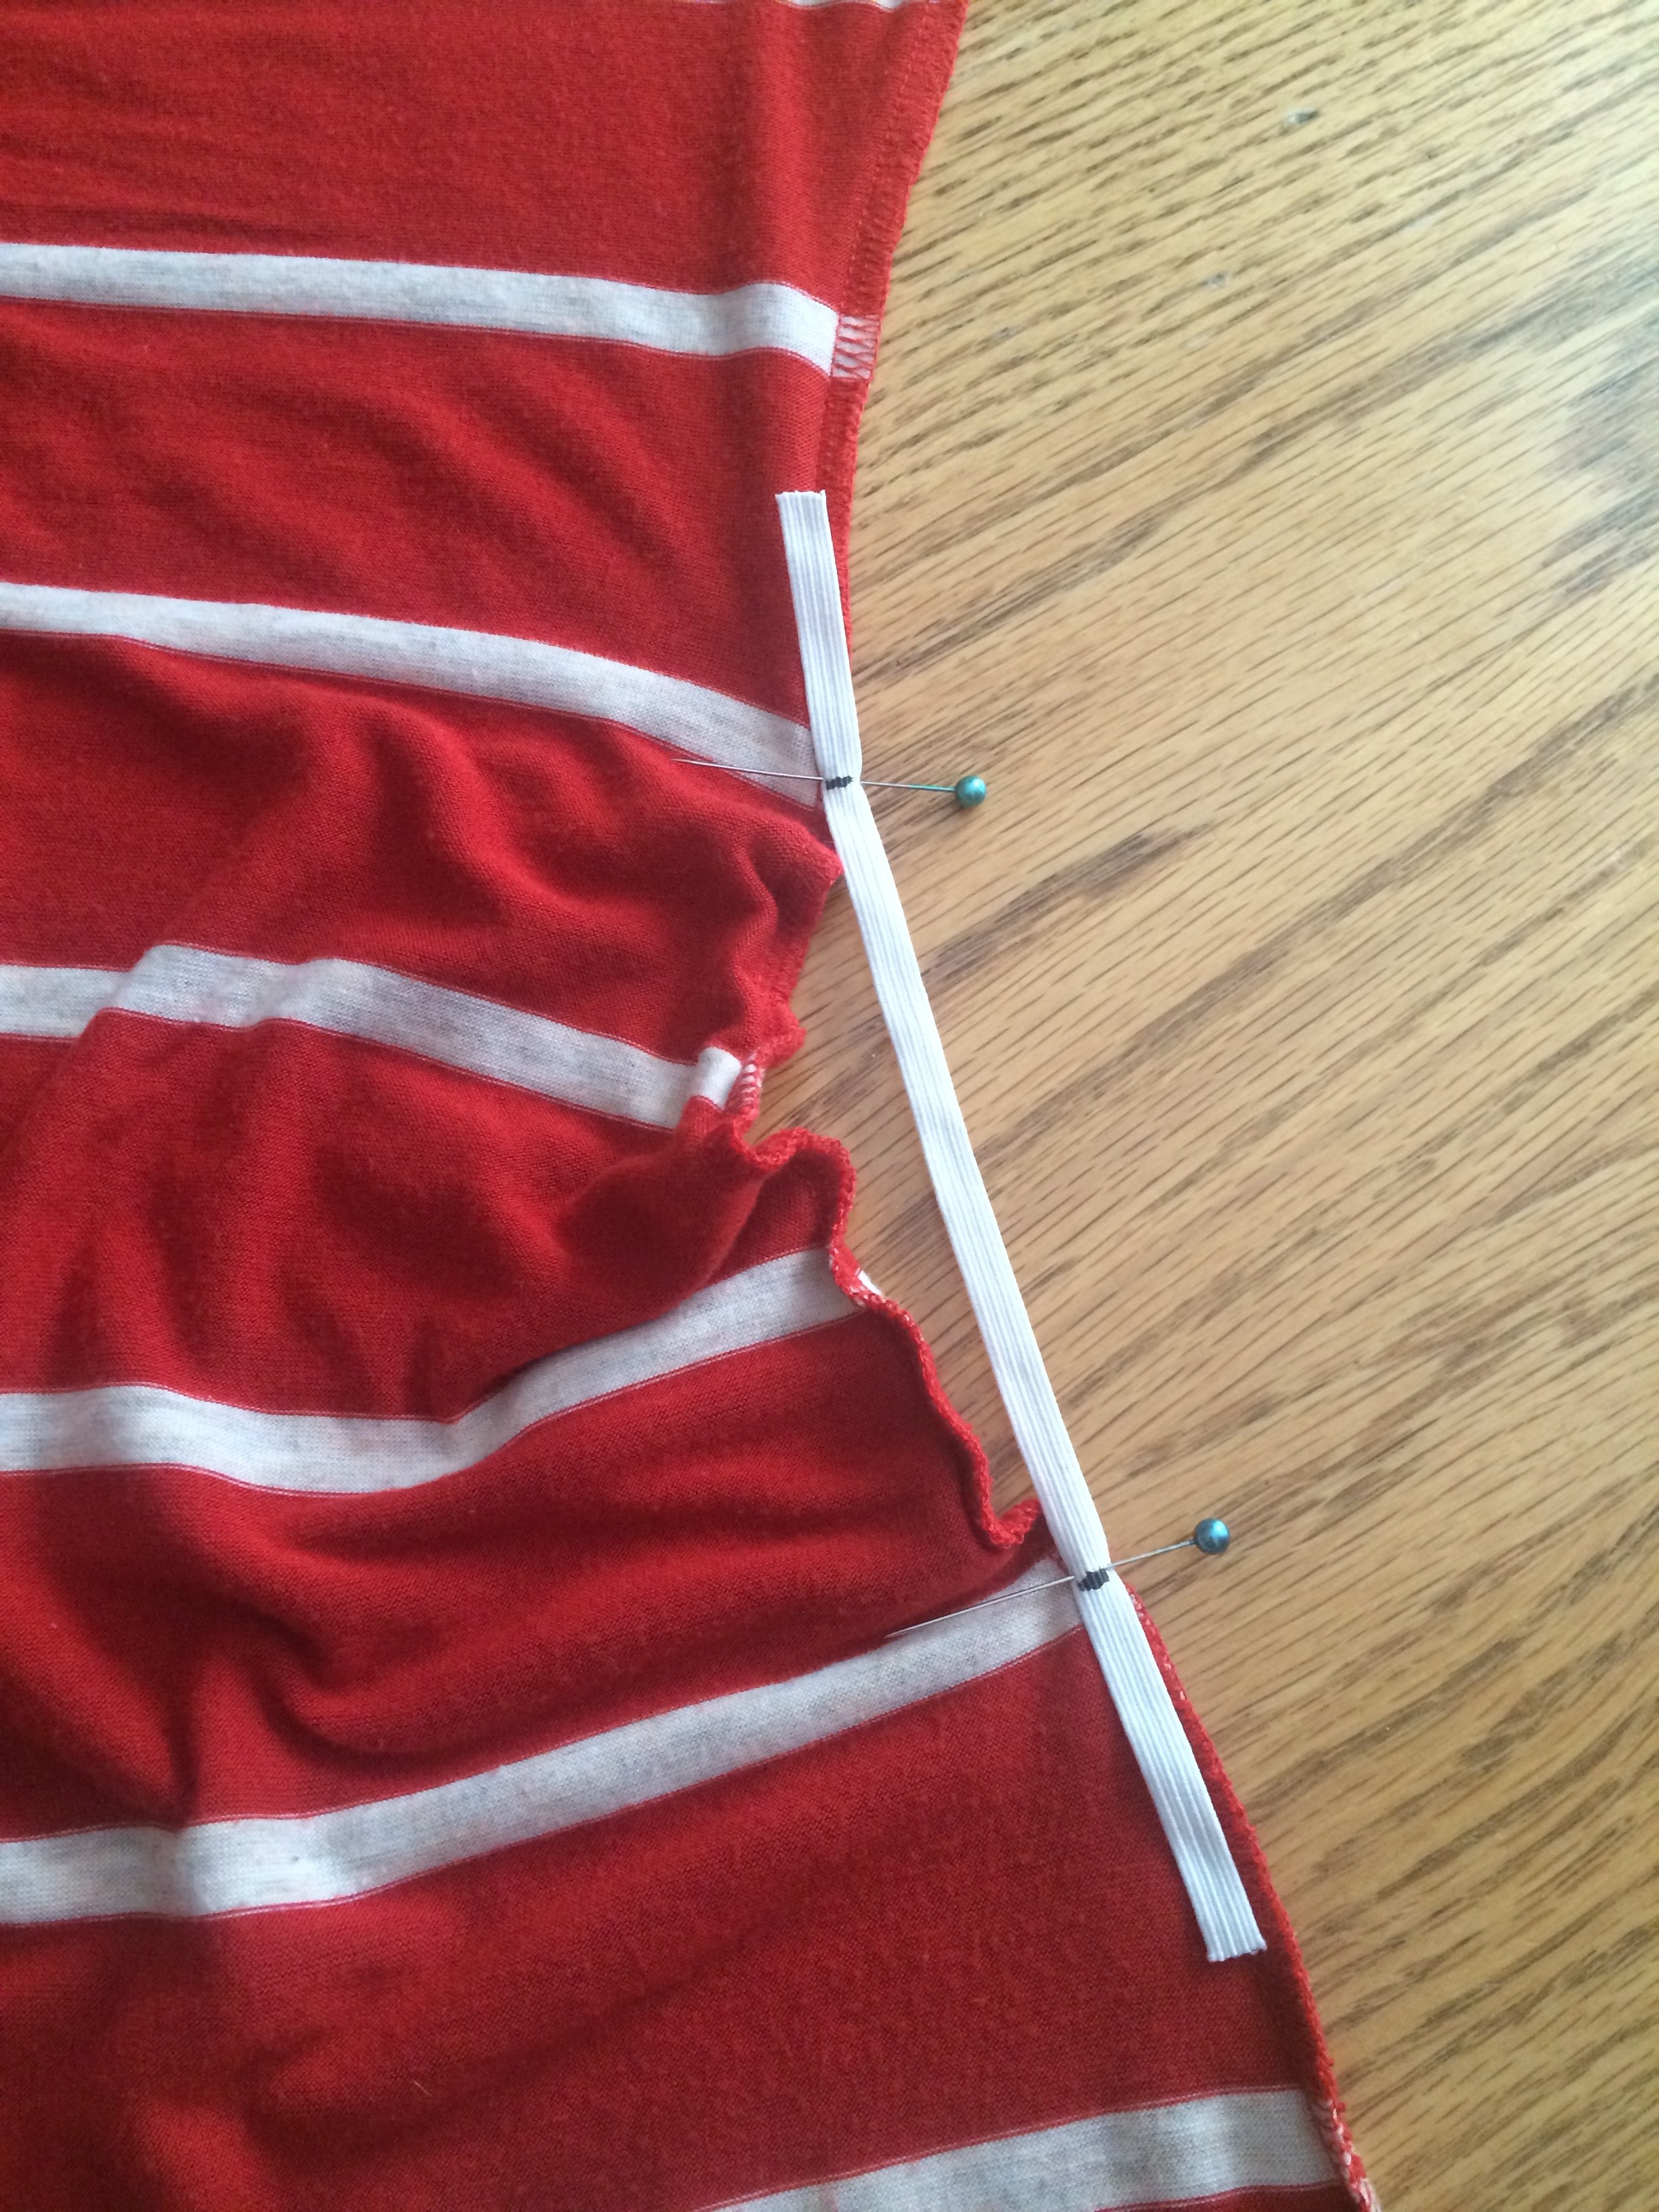
  4. Stretch it out and pin. The more you do, the easier it will be. I only did 4 pins and wished I had more. *Leave it to me to be a lazy and give myself unneeded frustration.how to add ruching to a dress easily
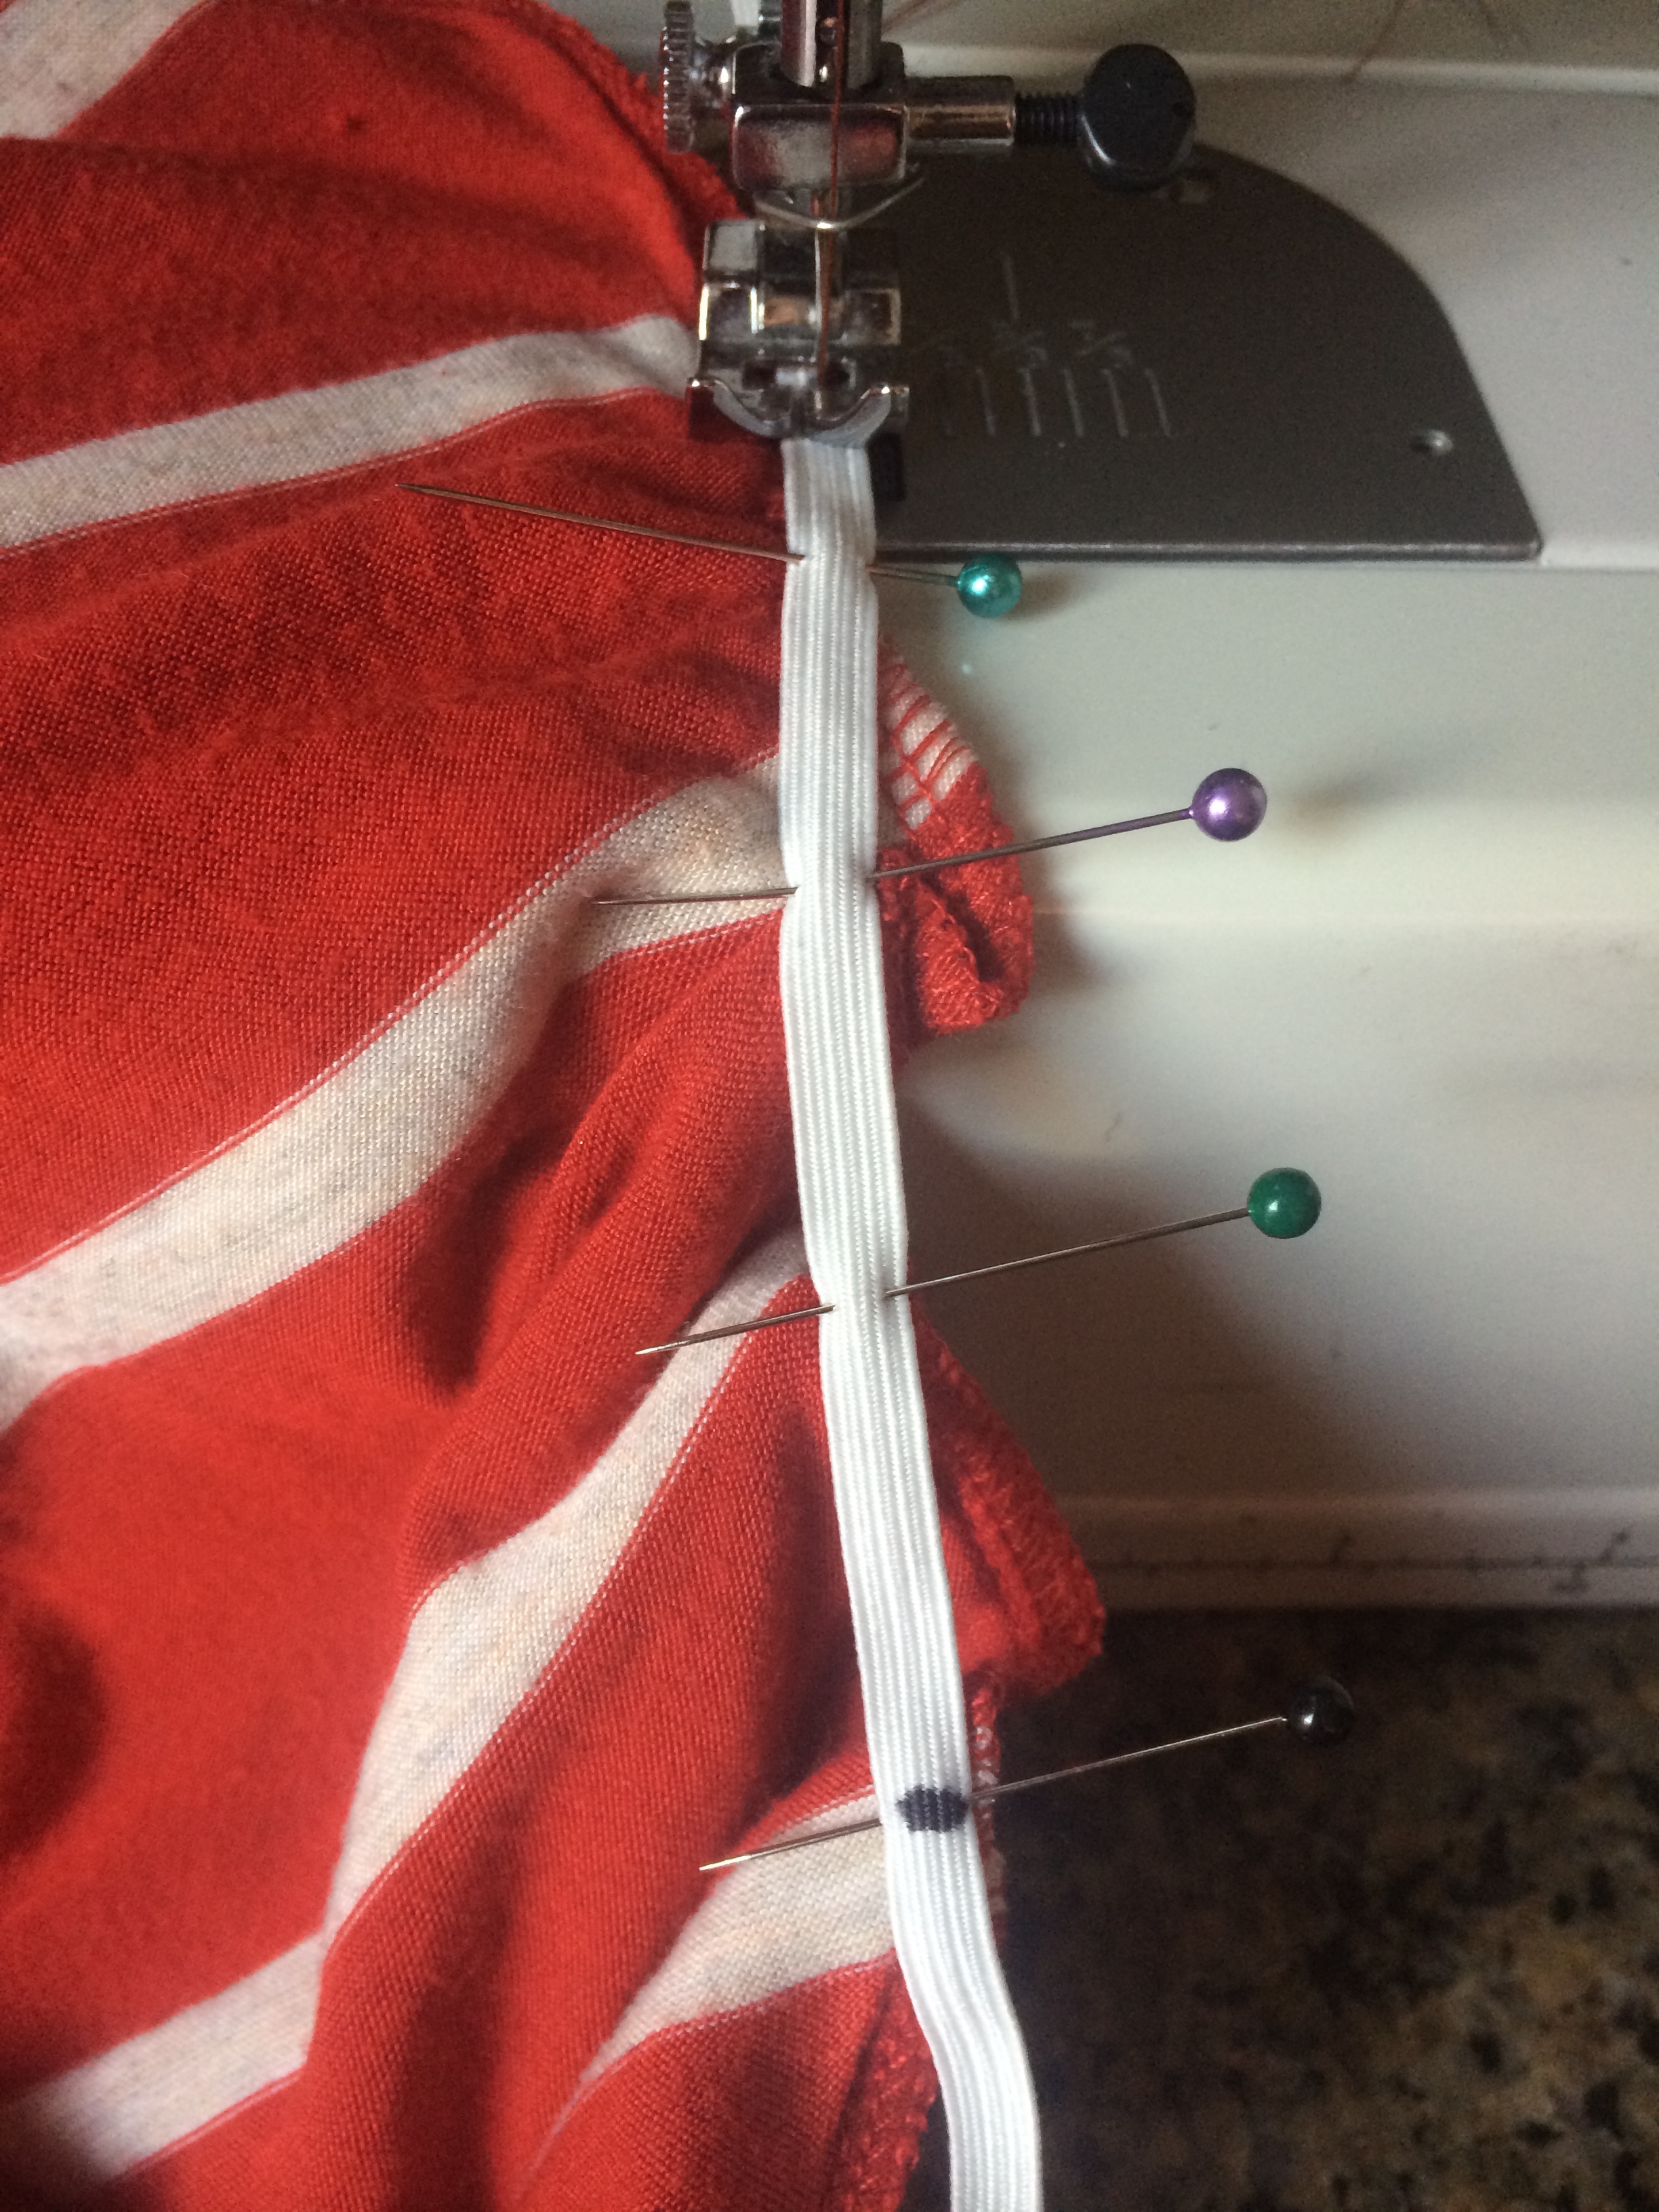
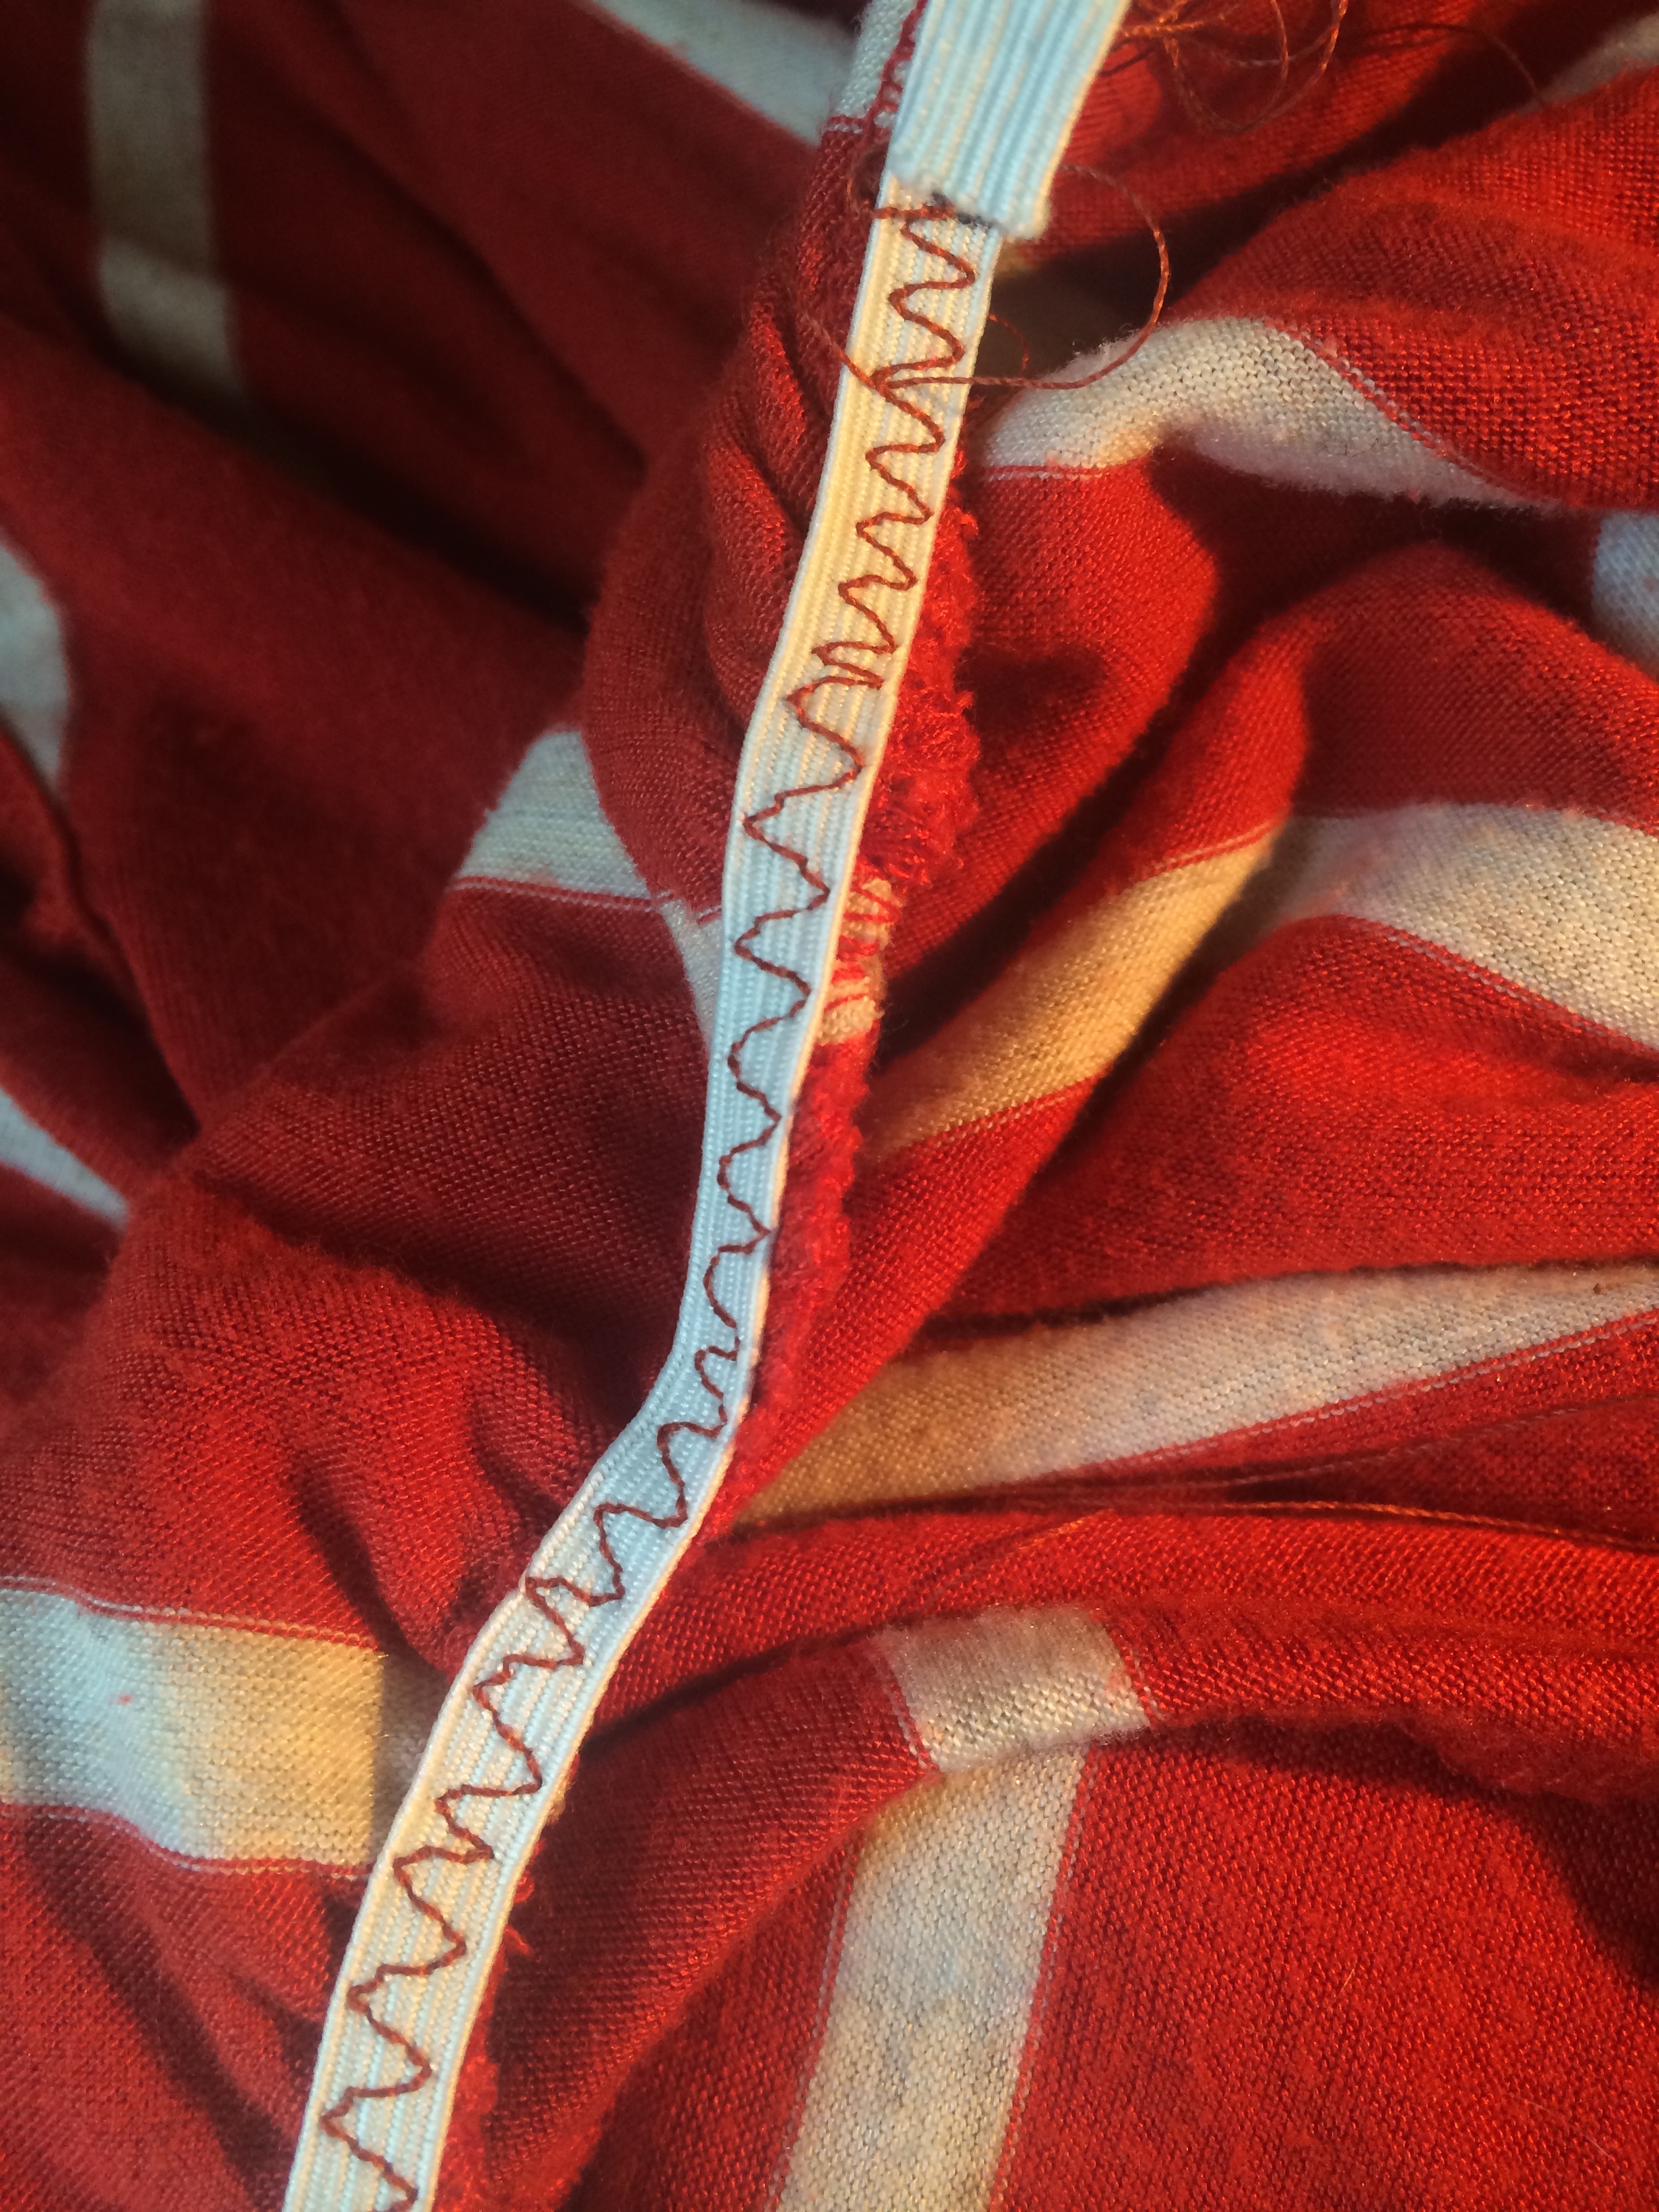
  5. Place your needle and presser foot directly over your top pin. Once it is secure, remove the pin and begin sewing with a zig zag or elastic stitch. Make sure that you are stretching the fabric and elastic as you go. (this is where the elastic tabs come in handy)how to add ruching to a dress
  6. Do the other side and you are done!how to sew ruching
  7. Trim the excess elastic.diy ruching

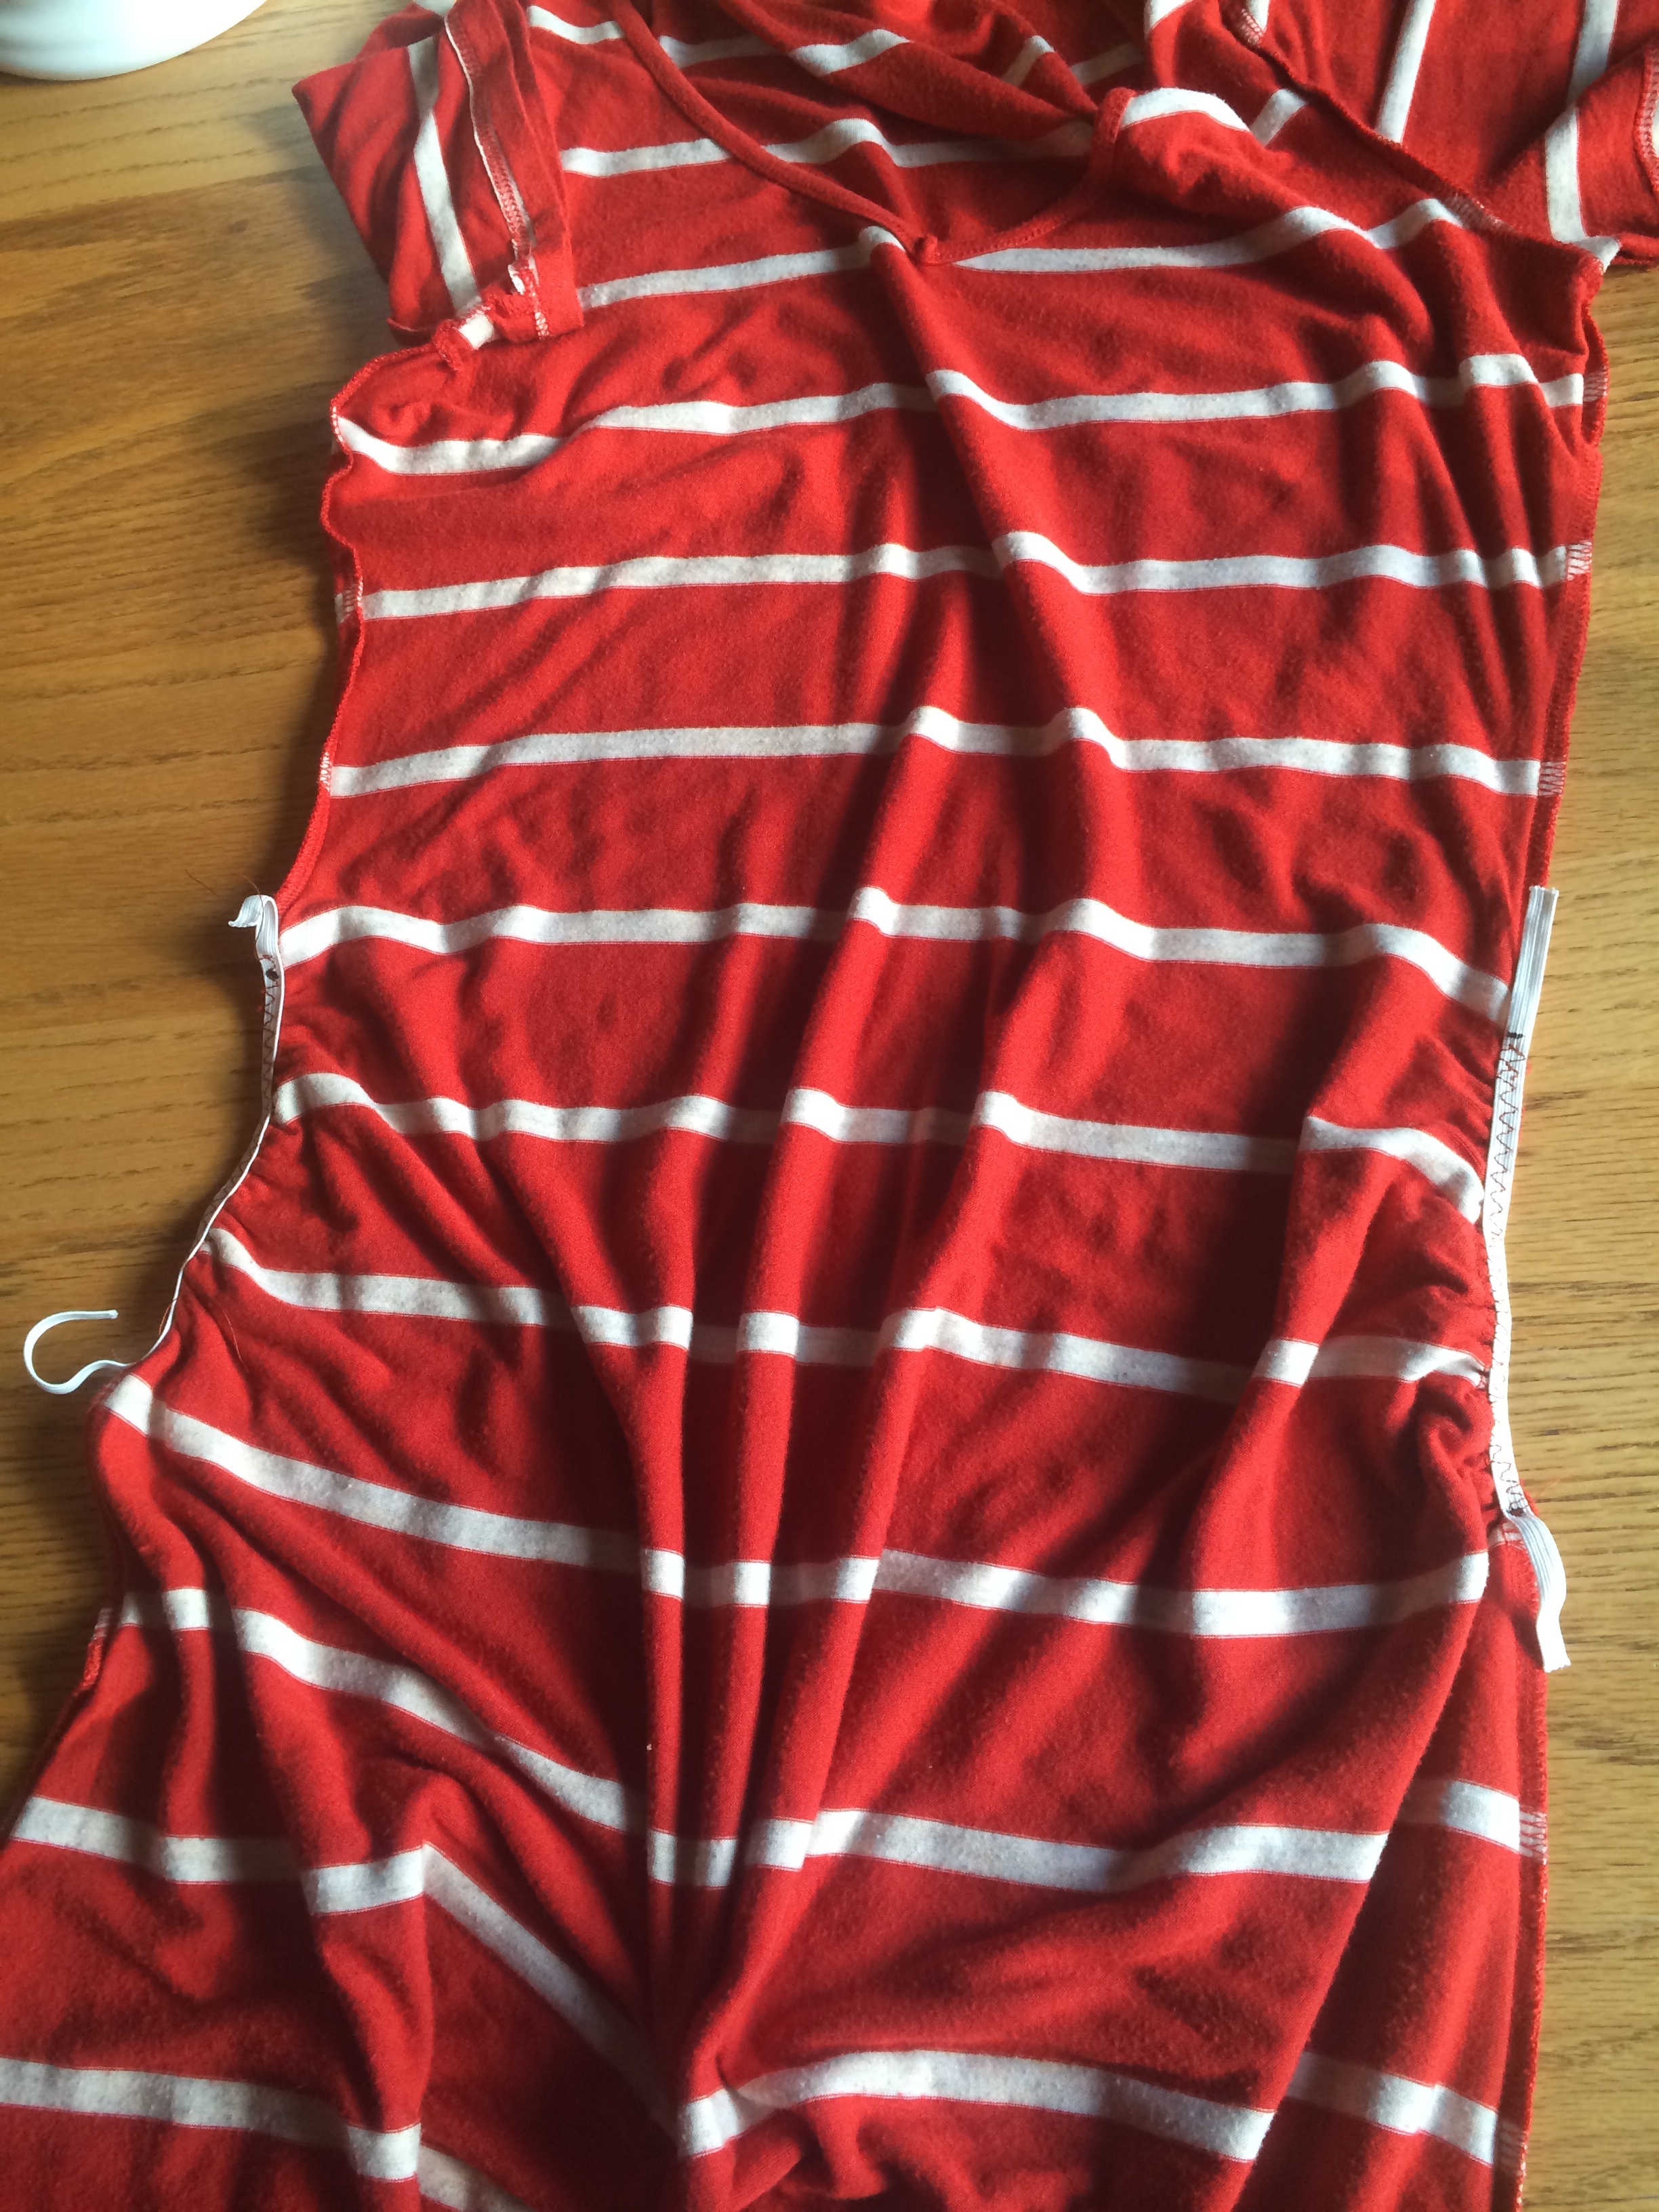
Here it is all done!

Add ruching

Why is it that it took me two years to get the courage to do this and it only took my mom 30 minutes to teach me? It is nice to live close to home.

Do you have any clothes that you want to try this on?


Filed Under: DIY Projects, Helpful Hints & Tips, Misc., Sewing, Uncategorized Tagged With: flattering, ruching, sewingtips

« The Secret to Beautiful Skin
3 Tips for When Your Deodorant or Antiperspirant Stops Working »

Comments

  1. Jessie says

    January 12, 2015 at 6:48 am

    I actually got a dress at a thrift shop I want to try this on today.

    Reply
    • Ali says

      January 14, 2015 at 1:29 am

      Oh boy! Hooray for thrift projects. I would love to see how it turns out (themamasgirls@gmail.com)! Let me know if you have any troubleshooting and I would love to update the post! Thanks Jessie- Good luck!

      Reply
  2. Sarah says

    June 23, 2015 at 2:10 pm

    I have a long gym tank that I want to try this on. I was hoping it would look ok on a non-maternity shirt that just needs a little more shape/detail. Thanks for the simple tutorial; I’ll be trying it this afternoon!

    Reply

Leave a Reply Cancel reply

Your email address will not be published. Required fields are marked *

Recent Posts

  • Remodel a Camper on a Dime
  • Free Minimalist Grateful Printable for Thanksgiving
  • Lemon Ricotta Muffins
  • Easter Egg Hunt Activities for Kids
  • Easy Candy Flowers
  • Pecan Pie Braided Bread
  • Holiday Hot Wassail
  • DIY Dollhouse Christmas Decor
  • Easy Magic Crocheted Hot Pads
  • Pumpkin Spice Honey Butter for Scones

Purchase our eCookbook with exclusive content

Shop

exclusive recipes  

Family Favorite

Posts May Contain Affiliate Links

Copyright © 2021 · Blossom theme by Restored 316