It doesn’t matter how busy your lifestyle is or how little time you have – everyone should know the basics of clothing repair! This can save you time and money particularly if you don’t want to replace a favorite item. Whether you’re a single person trying to stretch your wardrobe budget or a mom with enough laundry chores already, knowing simple fixes for common clothing issues can offer peace of mind and keep styles in circulation longer. Sometimes we look at a torn pocket, pulled thread, or ripped hem and feel utterly defeated — especially if we don’t have the time or financial resources to buy new items. It can be really discouraging! But here’s the good news: there are some basic clothing repairs that anyone can do at home with minimal effort and cost — mommas working full-time shifts included! Don’t worry if you don’t know how to sew by hand; no need for fancy tools either — because in this post, we’ll share easy tips for tackling everyday wardrobe fixes so that your duds come out looking as good as new every time. Read on to learn more!
Here’s a helpful tip: always double the thread for any hand repair, and use a needle that’s sharp to avoid any snagging and ruining fabrics. Keep the thread short to avoid getting tangled and knotted, and if you see a thread hanging, don’t pull it! Cut it and fix the problem ASAP.
Sewing on Buttons
Don’t wait for a button to come loose and disappear before realizing you need to fix it. Checking your buttons regularly and fixing them while they’re still loose will save you the hassle of searching for a match later. It’s also much simpler to sew a button back in place when it’s still properly aligned with the buttonhole.
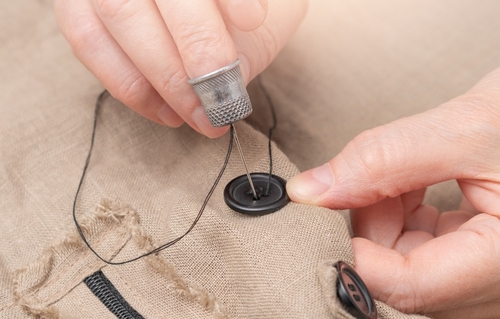
Sewing on a button can be tricky, but with a few simple steps, you’ll be able to do it like a pro. First, position the needle on the underside of the fabric, then push it through the fabric and one of the holes in the button. Use your thumb to hold the button in place as you pull the thread through until the knot is snug against the fabric. Next, bring the needle back down through the other hole and repeat until you’re finished. Finally, knot the thread on the underside of the fabric and admire your handiwork. Simple, right?
Remember when you’re attaching buttons to your clothing, it’s important to get the balance just right. You want them to be secure, but not so tight that they’re impossible to fasten and unfasten. As you sew, keep a watchful eye on the thread tension to ensure that you’re not pulling too hard. One clever trick to help you achieve the perfect spacing is to slip a straight pin between the fabric and the button while you sew, then remove it when you’re finished. And if you’re dealing with a pesky button that always seems to be coming loose, try using fine fishing line for a more robust hold. Lastly, a dollop of clear nail polish on the threads could be the key to keeping everything in place. Follow these tips, and you’ll be buttoning up in style with no worries.
Mending Seams
Got a ripped seam? Here’s how to fix it right:
Double up on thread for extra durability.
Match the thread used in the original sewing as closely as possible (white for white clothes, black/navy for dark clothes, gray for gray clothes, and white for light-colored clothes).
Turn the garment inside out, so your stitches will not be seen.
Use a series of straight pins to securely close the seam, aligning the edges neatly together.
Sew with short running stitches, keeping the stitches small and slightly overlapping. For knitted fabrics, use a slightly zig-zag pattern to allow for stretch.
If it’s a stressed seam (like an armhole or crotch), sew a double line of stitching for extra strength.
Knot the thread securely and press the seam flat open on the inside, spritzing with water to set it.
Finally, turn the garment right side out and press the seam on the outside for a clean finish.
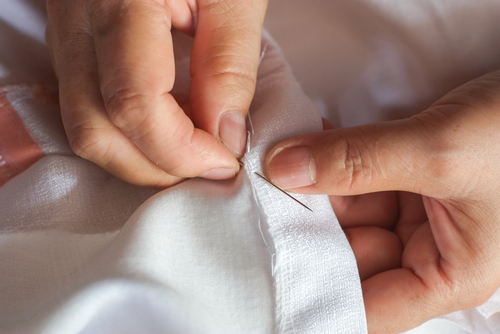
Repairing a Hem
Don’t let the unraveling threads of your favorite skirts and pants make your favorite clothes look tattered and worn! Give them some inspection every once in a while to catch any fraying edges. If you find a hem starting to come apart, don’t wait! Repair it before it becomes a bigger problem. And if you do encounter a runaway hem, just remember to follow these quick tips.
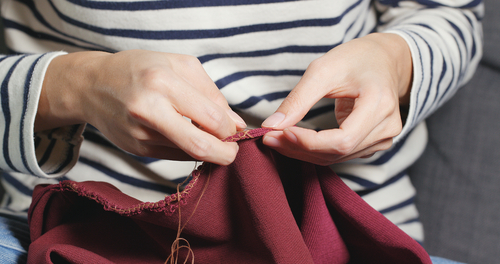
Remember, start by unfolding the fold of the hem. We’re going to use a needle and thread inserted in the fold, and begin stitching from right to left with a simple slip stitch. Don’t forget to catch the fabric of the main part of the garment with just a few threads. Neat, small and even stitches are key, as that’s the only part that will show on the outside. Keep it up, slipping the needle along in the fold and catching a few threads of the main fabric as you go. Finish off inside the fold with a double stitch to close off the thread.
To ensure a hem that looks fabulous, start by pressing it on the inside while dampening it or using the steam setting on your iron. After that, turn the garment right side out and press the hem on the outside, dampening it or using steam again. Ta-dah! Your hem will look as good as new!

It’s not hard to keep your clothes in good repair; all you need is a needle and thread. Whether it be a fancy dress or everyday street wear, sewing a button on, mending a seam, or taking up a hem can make all the difference. And when you do these repairs yourself, your clothing will mean so much more.
You don’t have to be an expert seamstress to keep looking great; even novice sewers can mend hems and buttons quickly with just a needle and thread. So let go of any notions that repairing garments is complicated or time-consuming – it really doesn’t have to be! In fact, it can even be fun with these sewing basics.
Don’t get rid of those clothes because they need small repairs; show how innovative and creative you are by rewarding yourself for fixing them up using these sewing basics! Don’t toss those favorite clothes when they need a repair—do it yourself and reap the rewards of looking fabulous.