
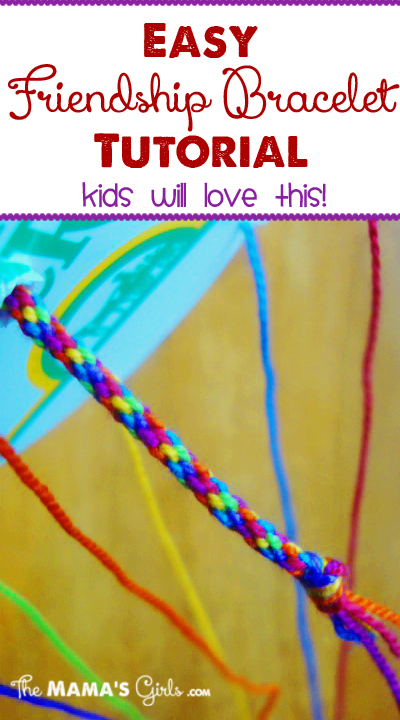
My grandkids love to make crafts! In fact, when they come to my house we call it “crafternoon!” They are old enough now that they can make things like this that require a little bit of concentration and dexterity. Grown-ups can get hooked on making these too! The kids especially love them because they can make them to share with their friends! Hence the name “friendship bracelet!”
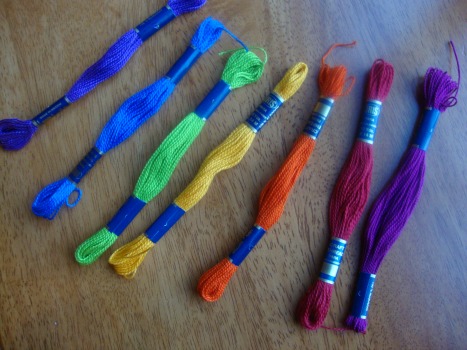
They are simple and inexpensive. You use any color of Embroidery Floss or Craft Thread. The bracelet featured below is made with the colors of the rainbow, but you can choose any combination of colors.
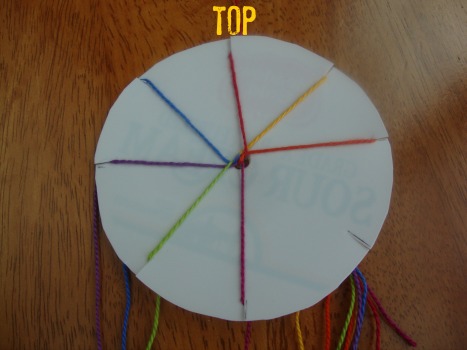
You start with the lid of a sour cream or cottage cheese container. This will be the “loom.” (I have made them with cardboard, but these are more sturdy.)
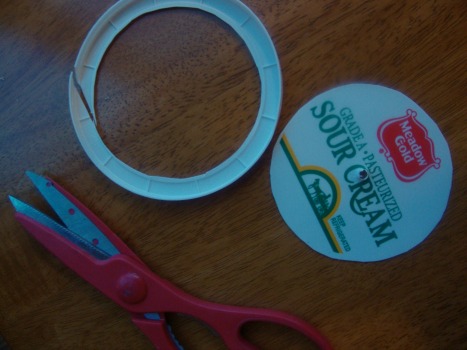
Now, cut off the rim. It doesn’t have to be perfect.
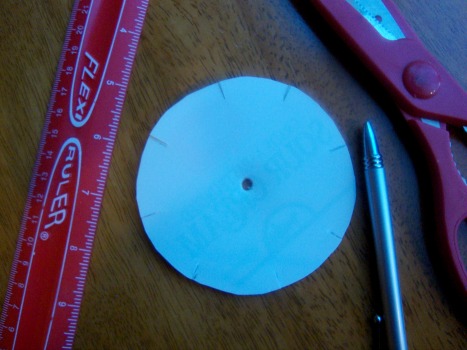
Then snip 8 slits in around the edge of the loom (each about 1/4″ deep.) Punch a small hole in the center using the point of the scissors. (This should be done by an adult!)
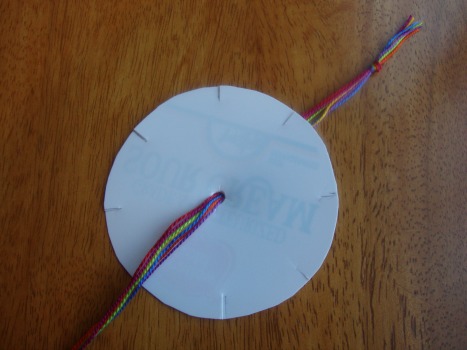
Cut 7 strands of embroidery floss, each about 28″ long. Thread them through the hole in the center and tie a knot about 1″ from the end.
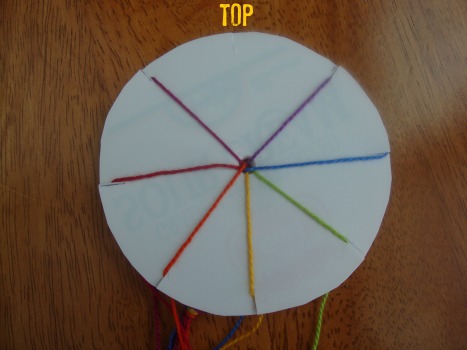
You will notice that you have 8 slits and only 7 colors. You are going to need this empty space. Place each of the 7 strands into the slits on the plastic loom and turn it so that the empty space is at the top. (See photo above.)
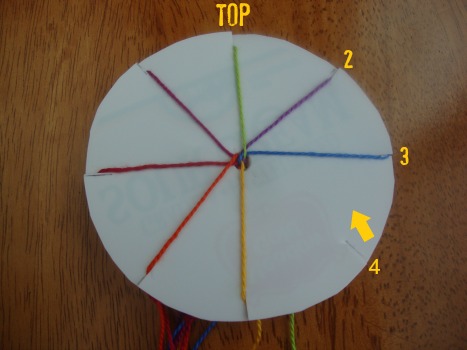
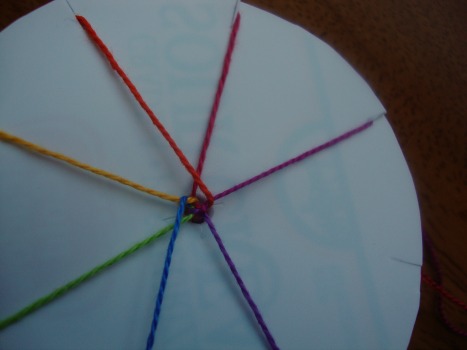
You will only be moving the string that is in position #4 to the top.
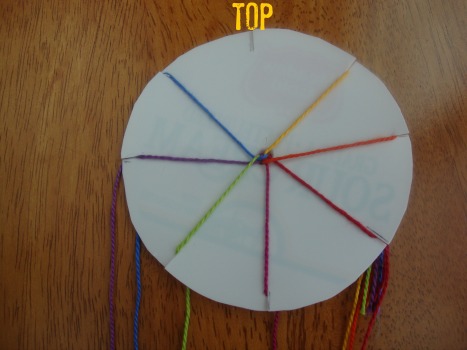
Then, rotate the circle so that the empty space is at the top.
Again, move the string from position #4 up to the top. (As you may have noticed, you will be doing the same motion over and over.)
Here is what the strands look like as they are being woven.
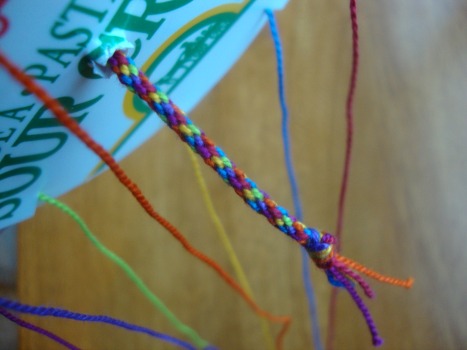
Soon, you will start to see the braided bracelet coming out the other side. This is the fun part! The kids love to see the bracelet taking shape in the colors they chose!
It’s really important that after about 4-5 rotations of the loom, that you smooth and untangle the strings. You can do this by simply running your open fingers through the strands. (It’s much easier to do this sooner rather than later, so that the strands don’t get too tangled! There’s nothing more frustrating to a kid!
So, a more concise way to put it:
The string in position #4 will always move to the empty space at the top, then you rotate the circle so that the empty space is at the top again. (I taught my grandson, that you move the string from 4 o’clock to 12 o’clock, then move the empty space to the top and do it all over again!)
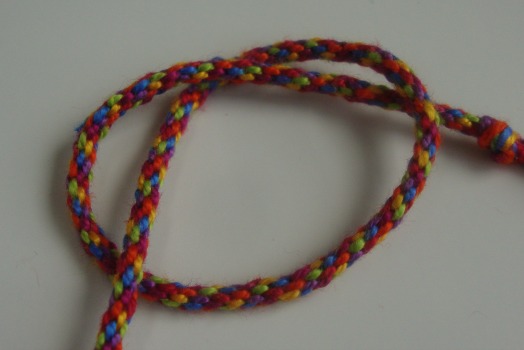
When the bracelet is long enough, remove it from the plastic loom and tie it off. Share them with friends!

I just lived the idea of plastic loom…. such a lovely craft work…..
This is amazing! Never could understand before! You must be the funnest grandmother. Thanks very much!